Interactive Remix
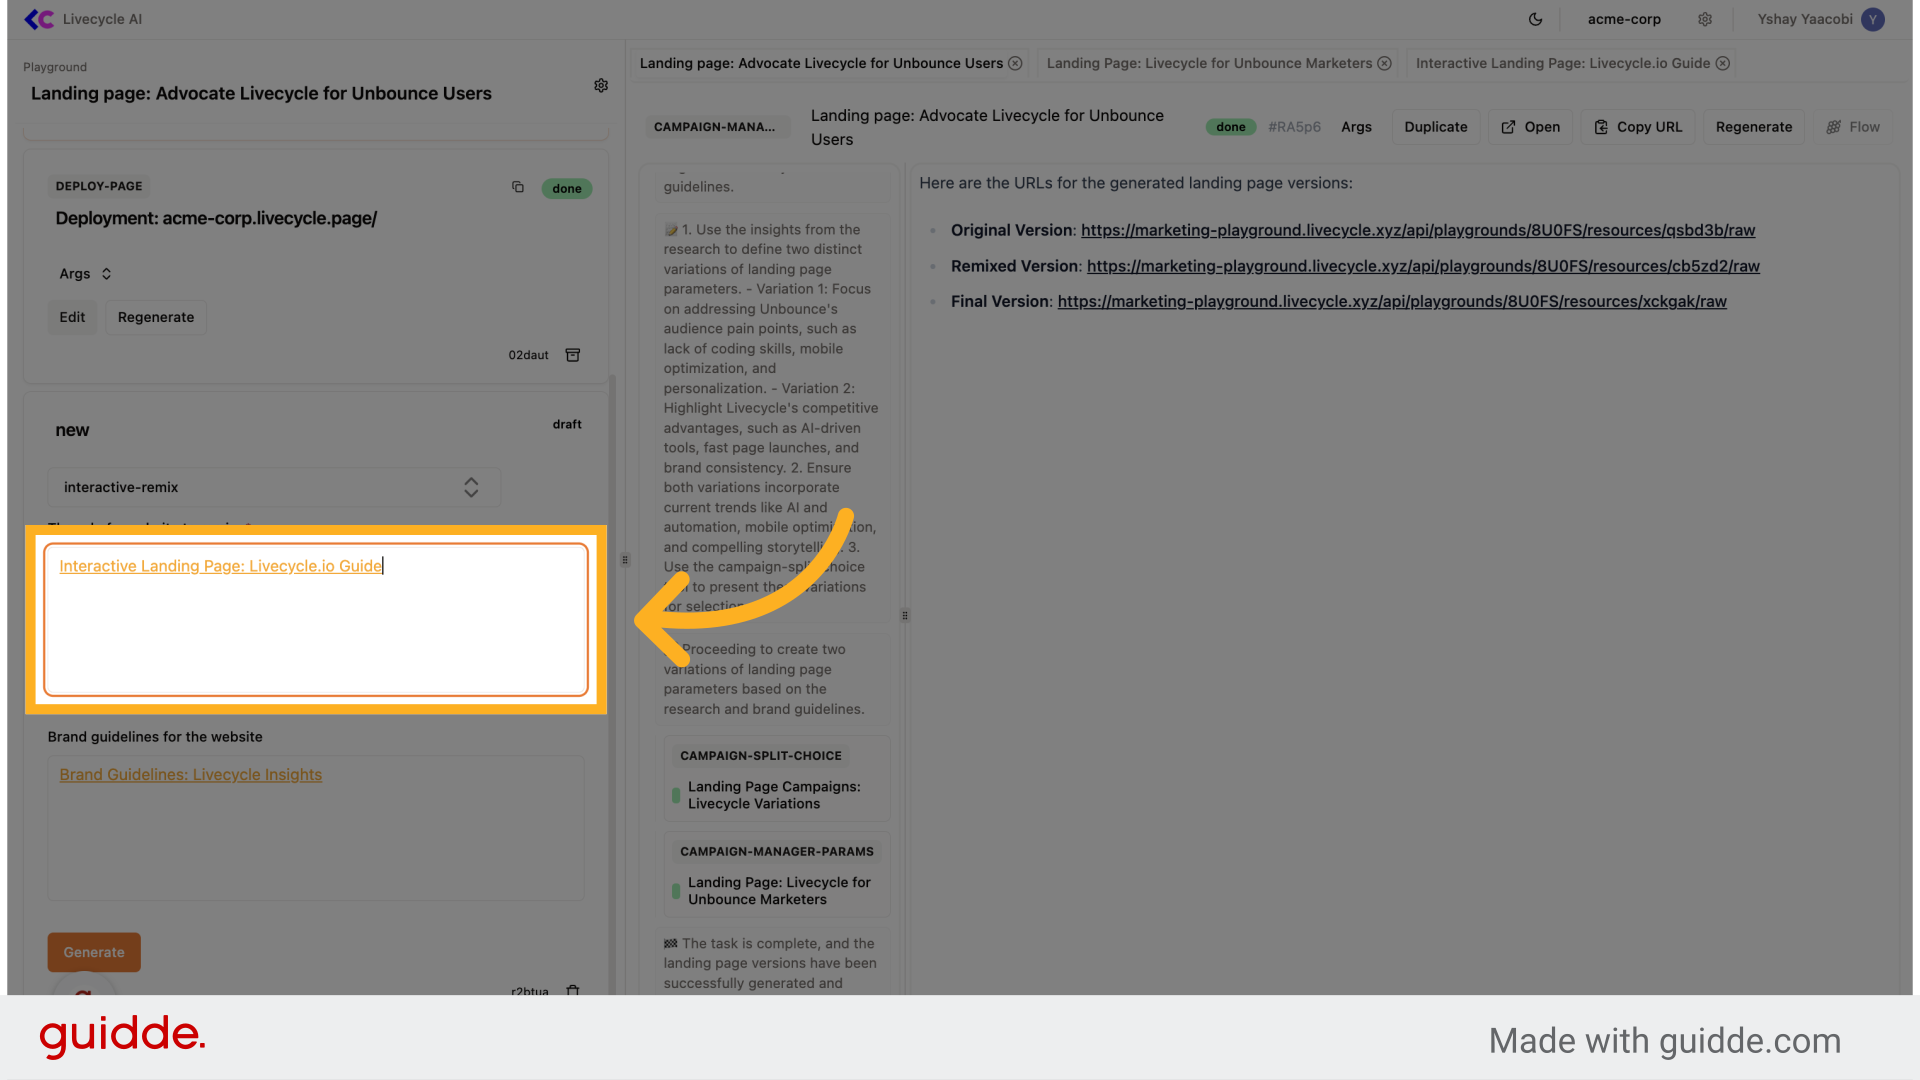
1. Using the interactive remix tool
Paste the url of the page you want to remix
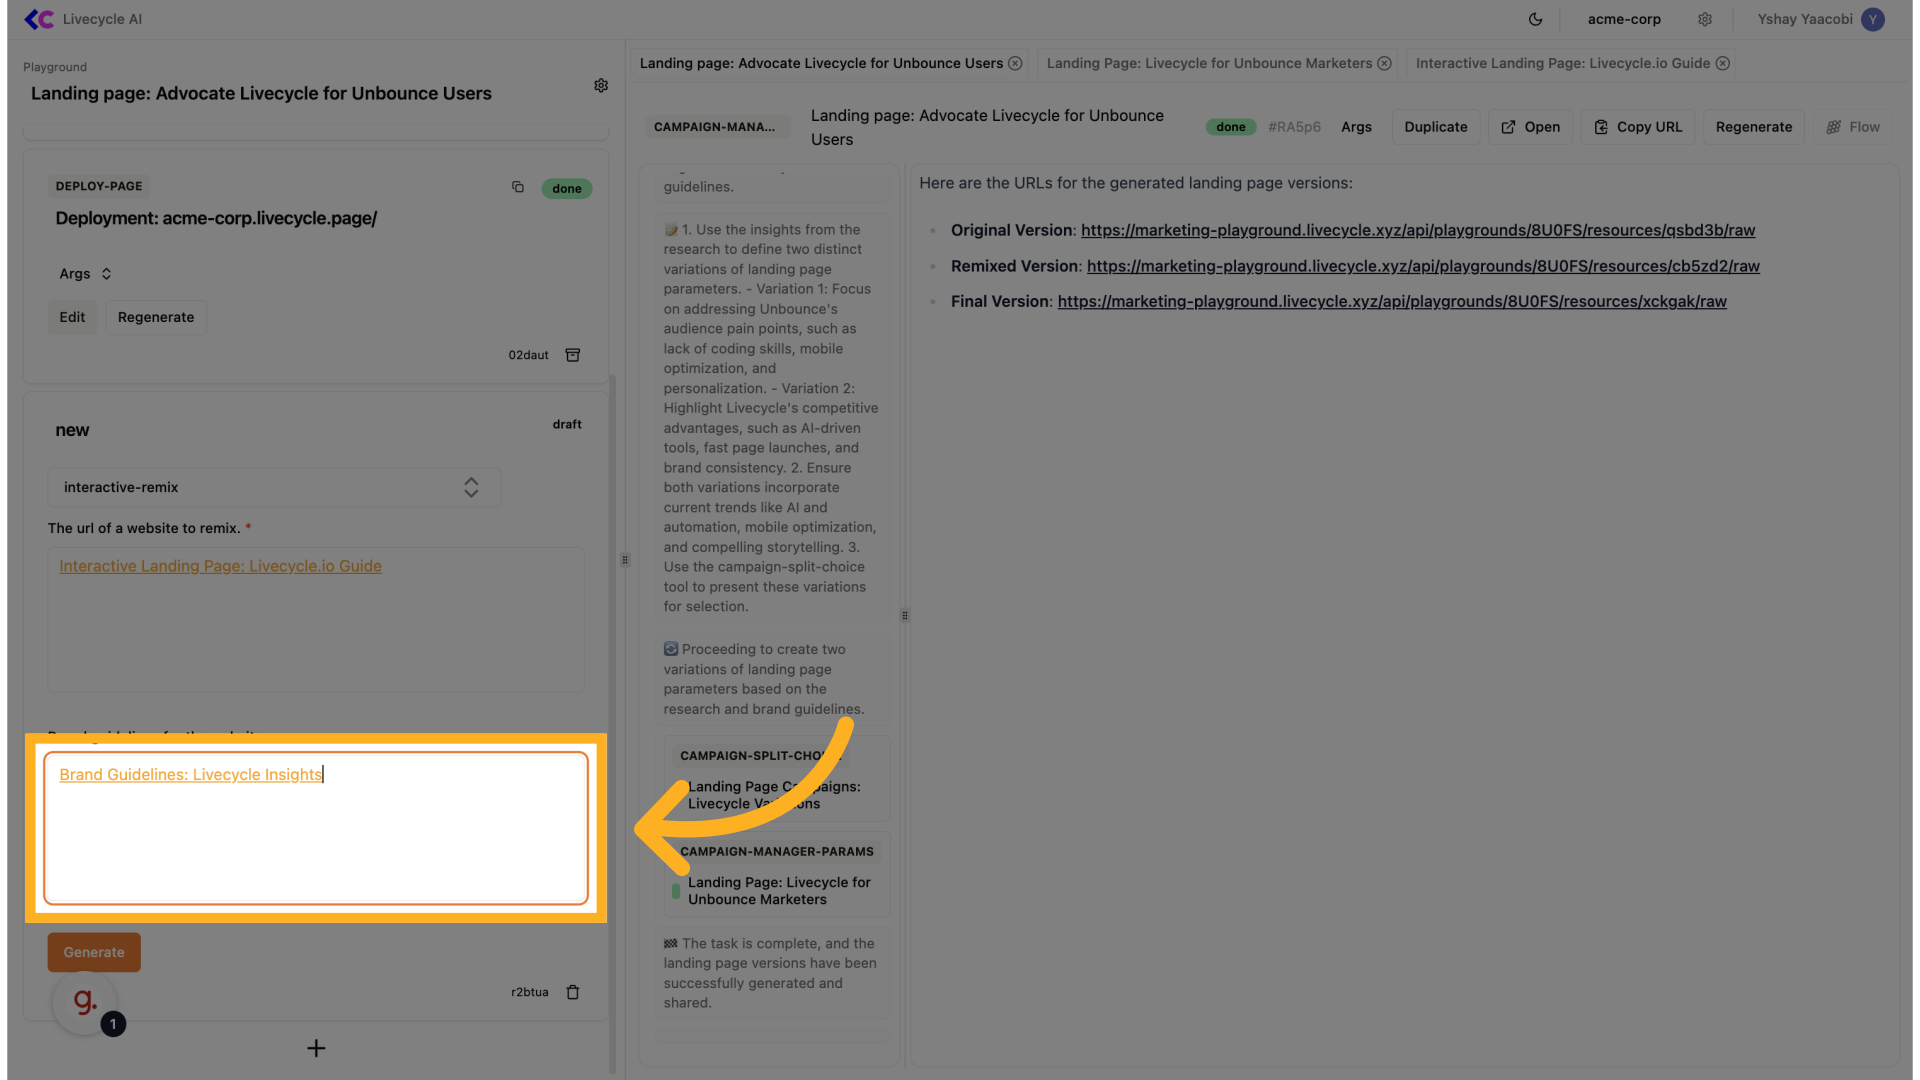
2. Add brand guidelines
Add brand brand guidelines if available
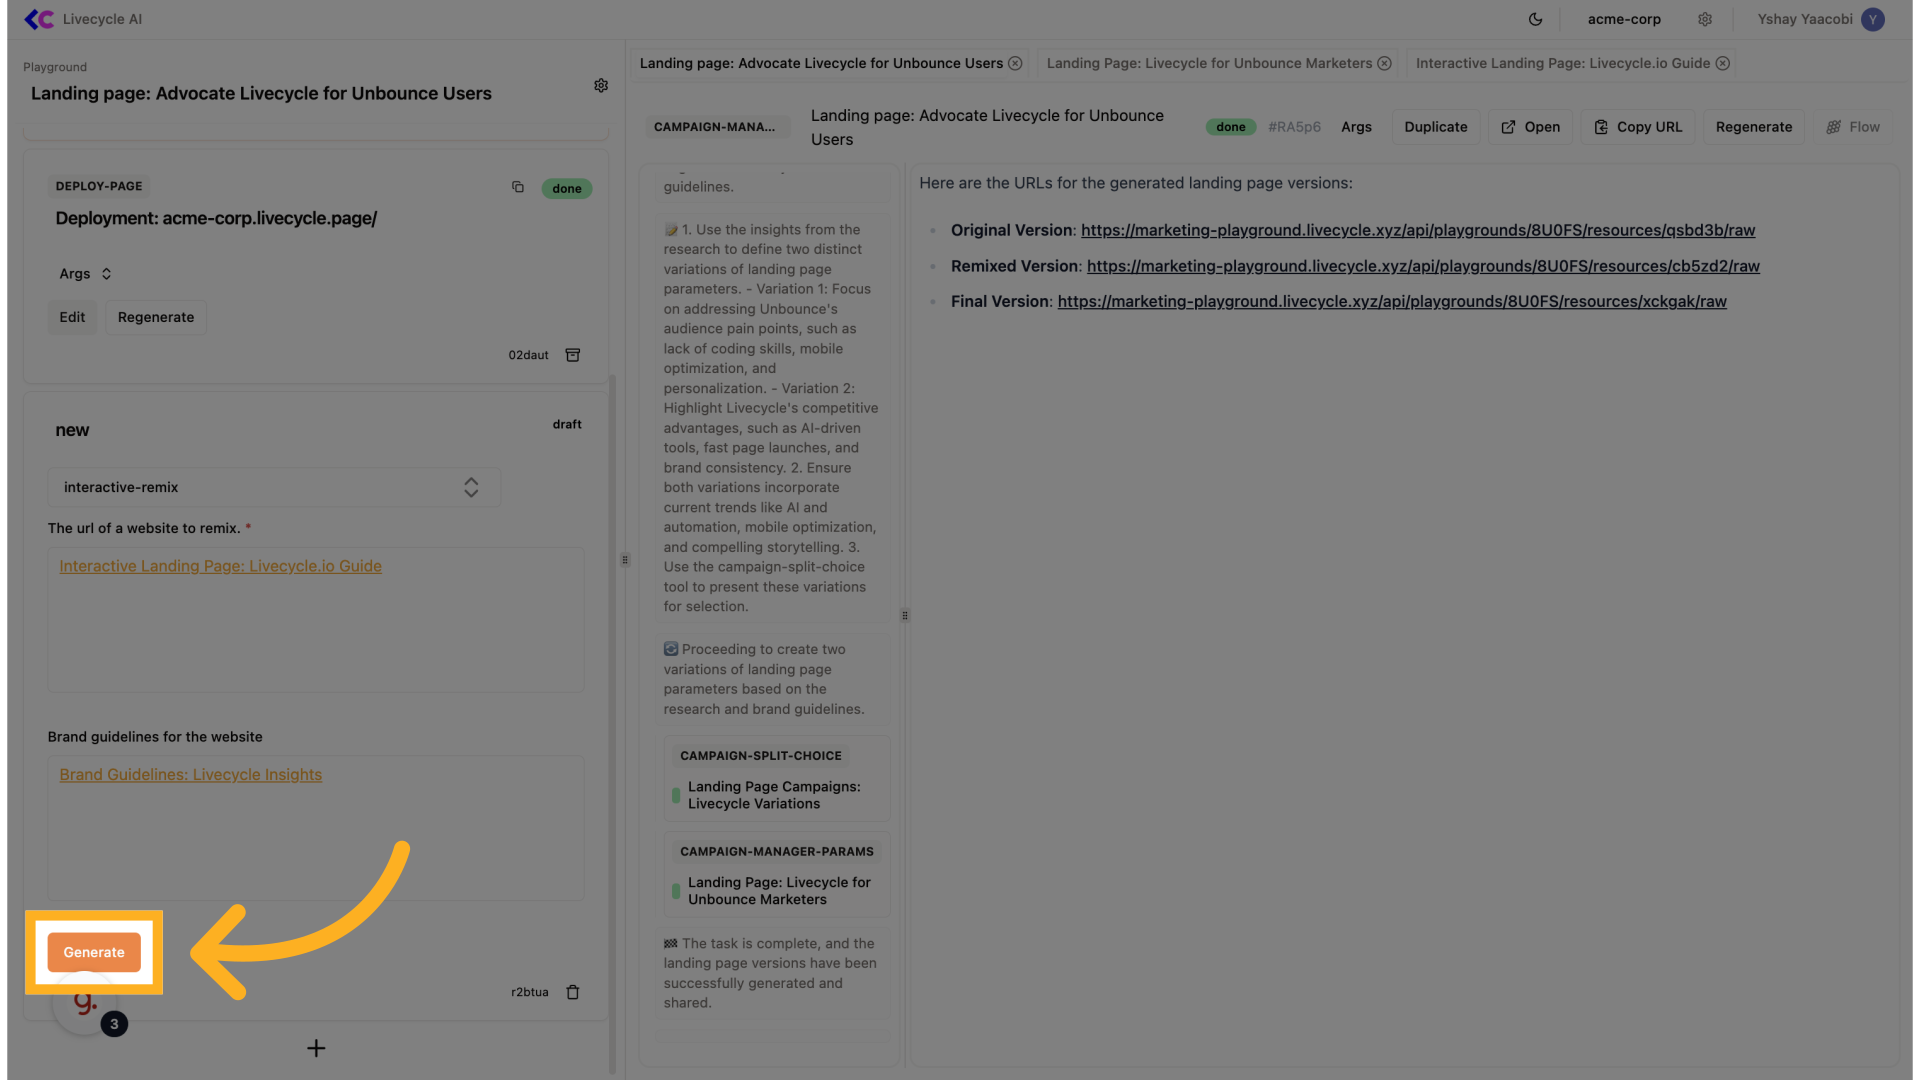
3. Click "Generate"
Proceed with the generation process.
4. Choose "Hero section"
We are going to remix the hero section
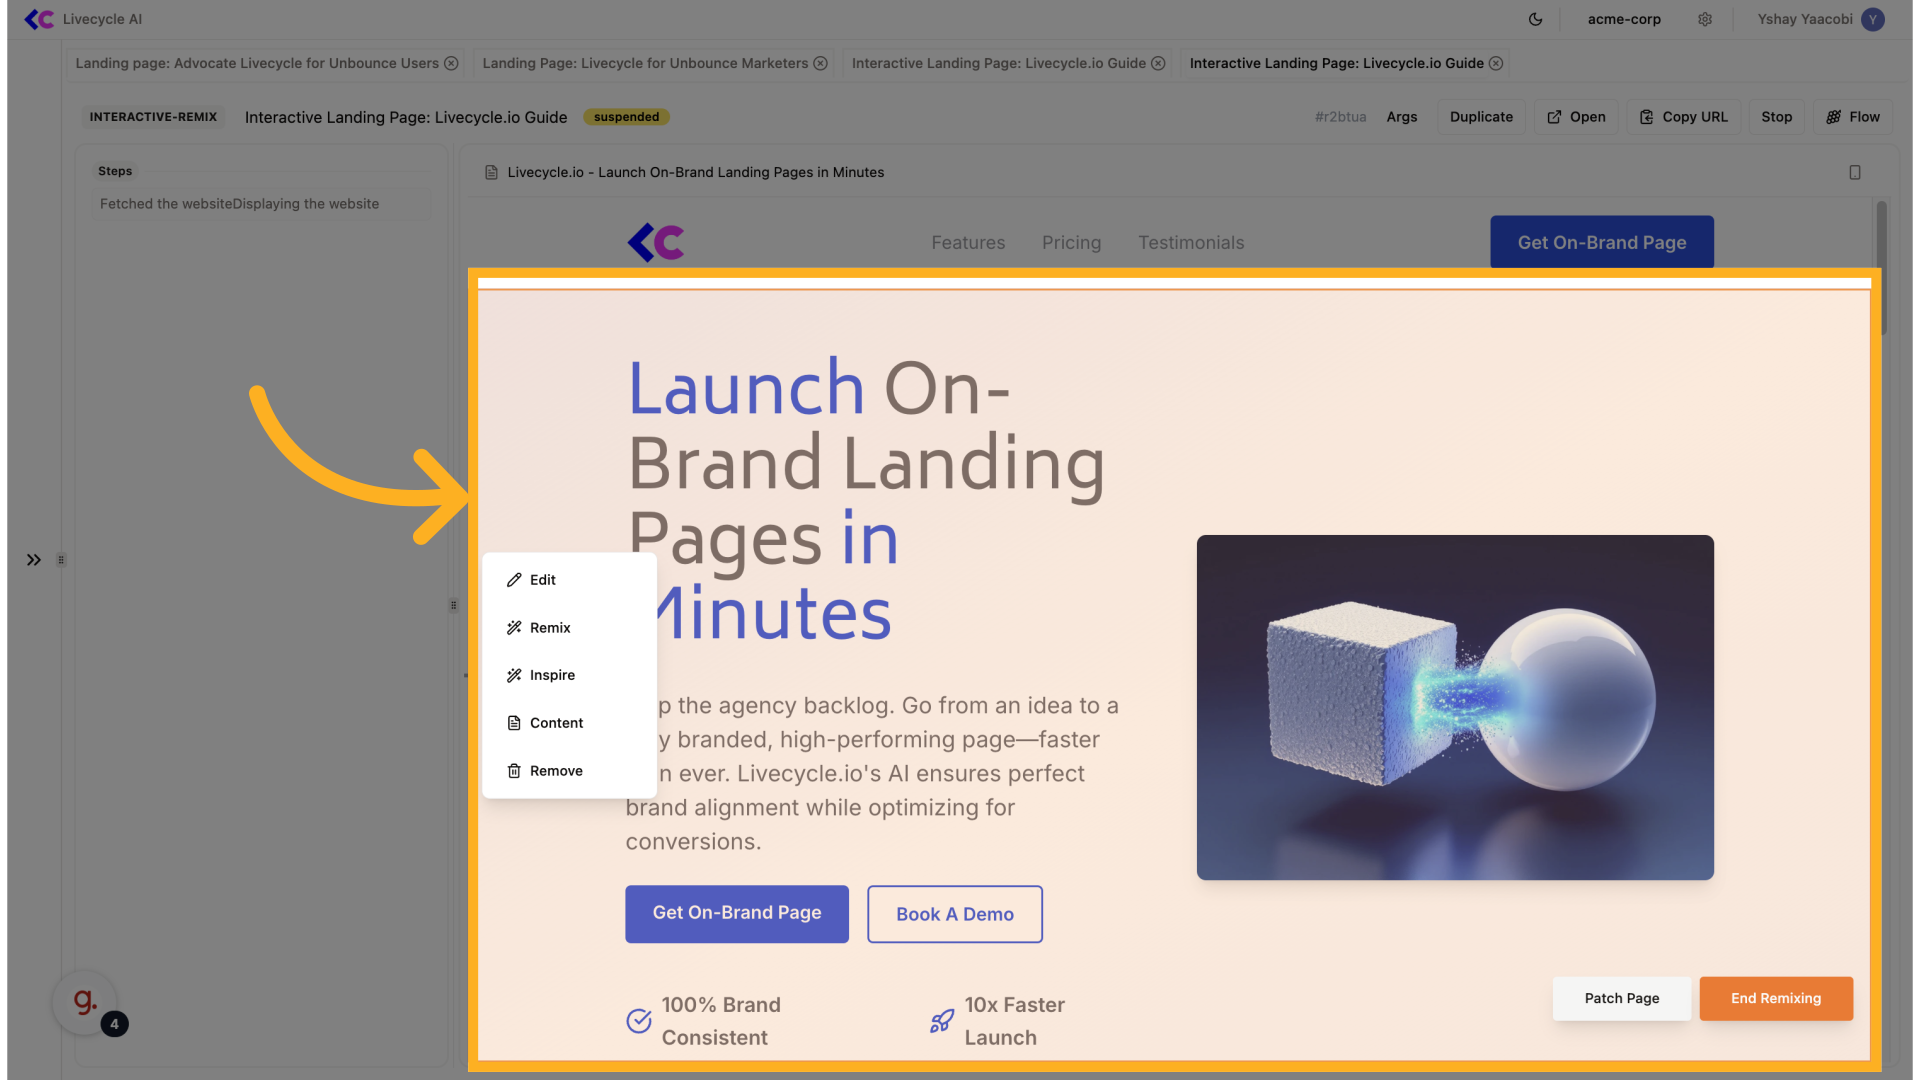
5. Click "Edit"
Enter the editing mode.
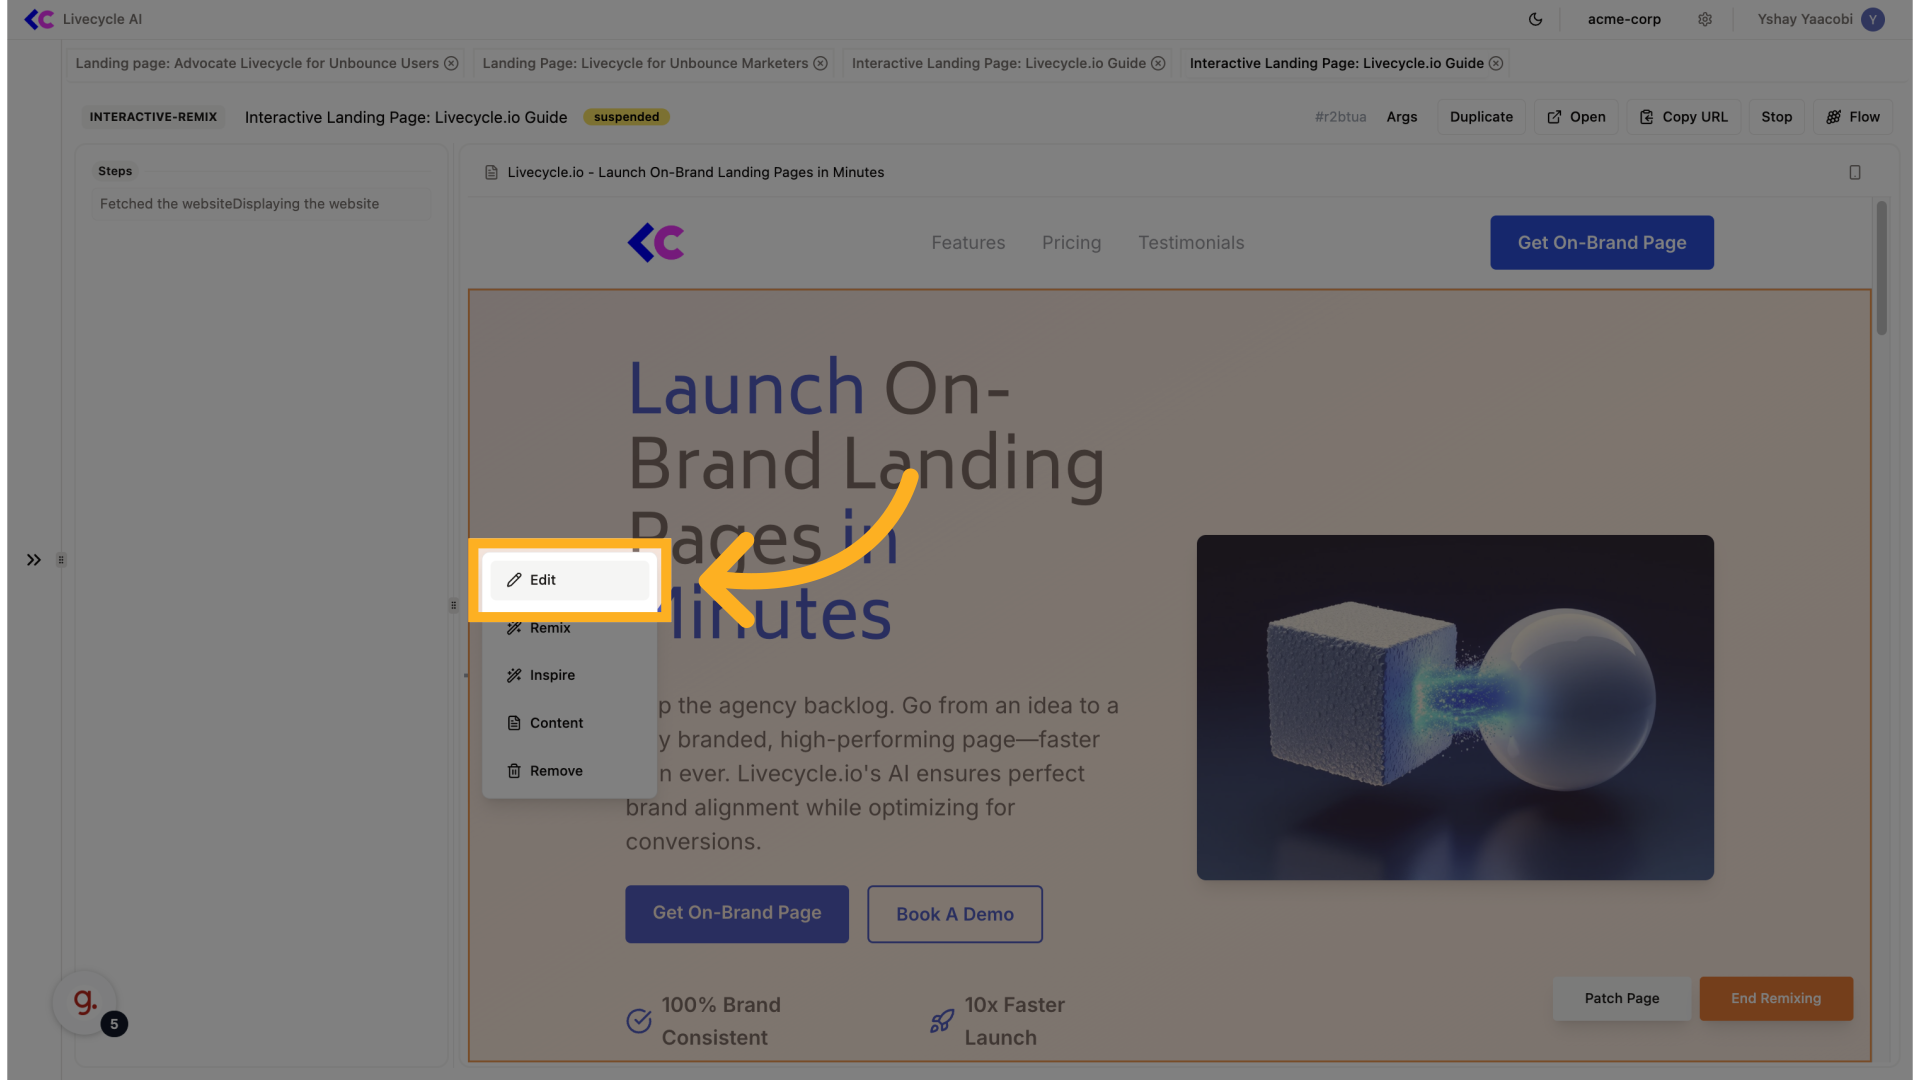
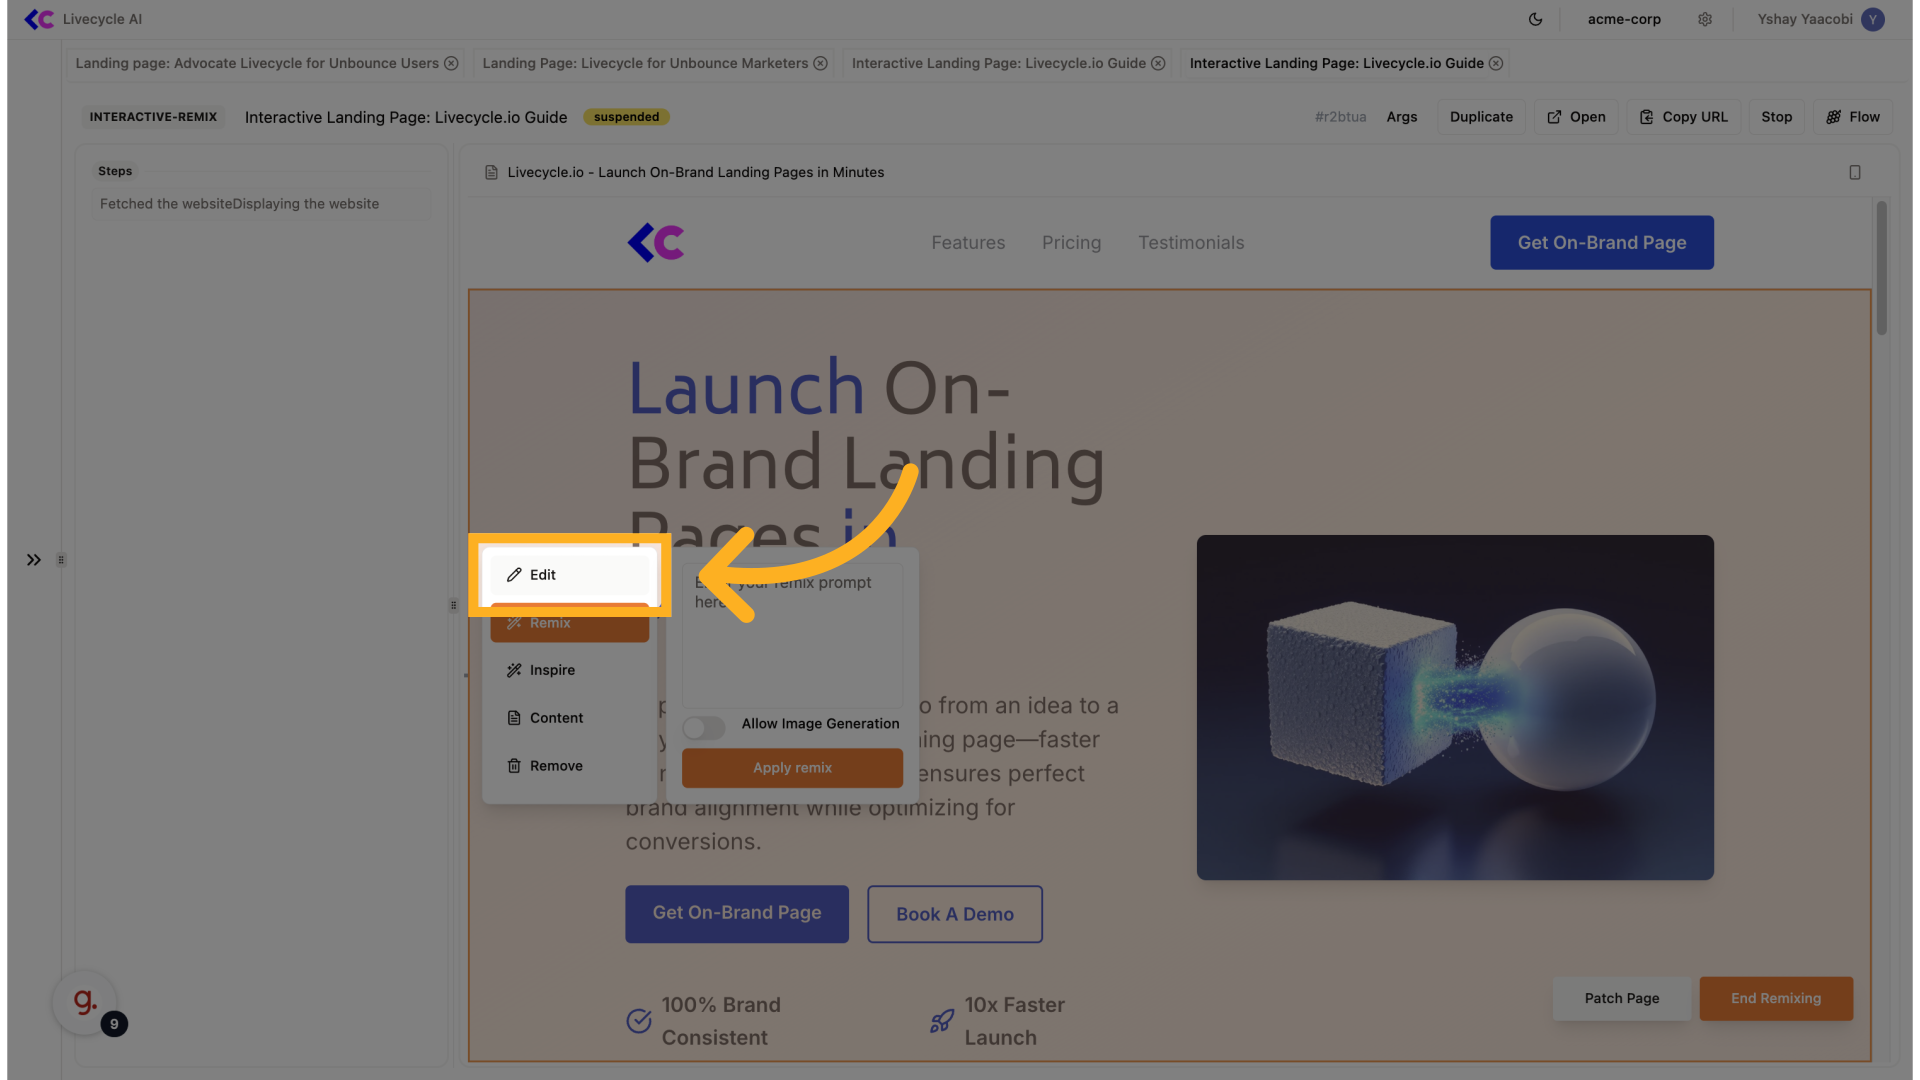
6. Select "Edit"
Edit can be use for requesting small changes, like copy changes, spacing, colors, etc...
7. Fill your request
Here we're going to request to change the title
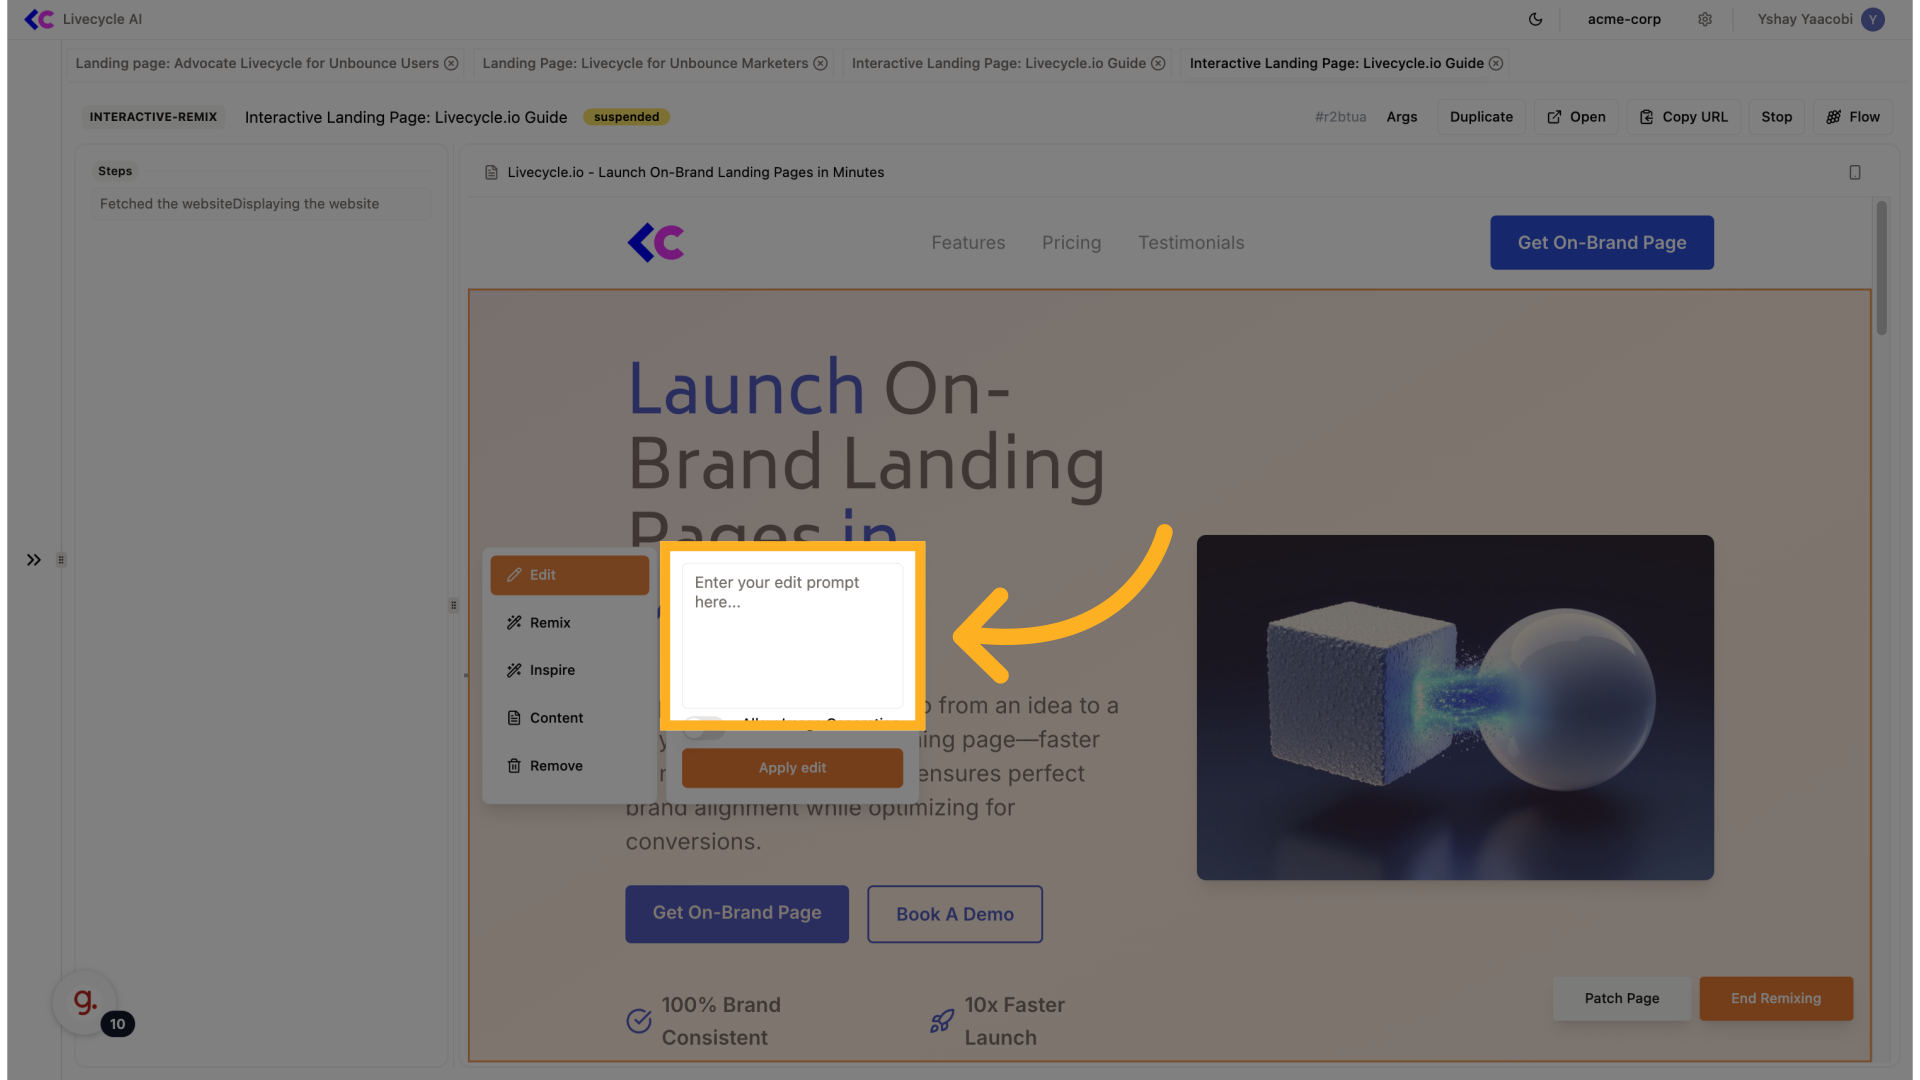
8. 07: Fill your request
Here we're going to request to change the title

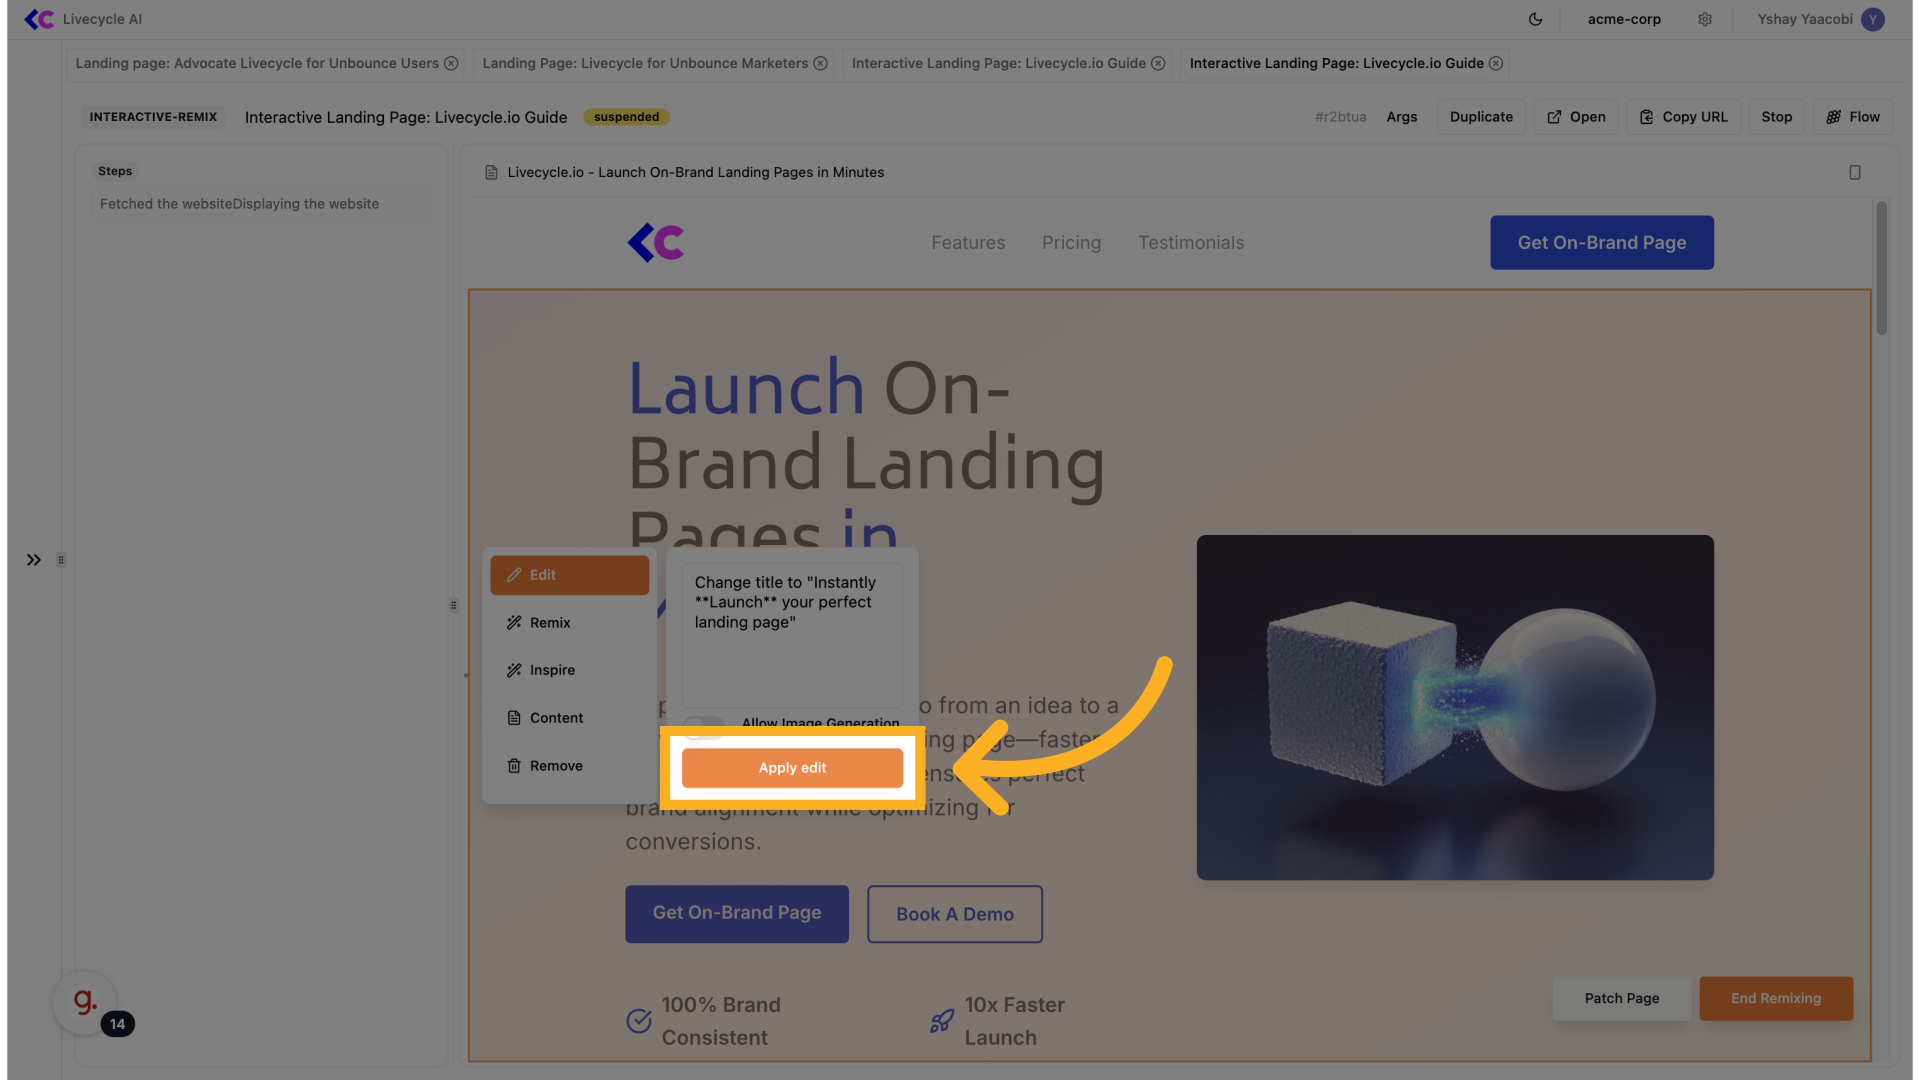
9. Click "Apply edit"
Apply the edited changes.
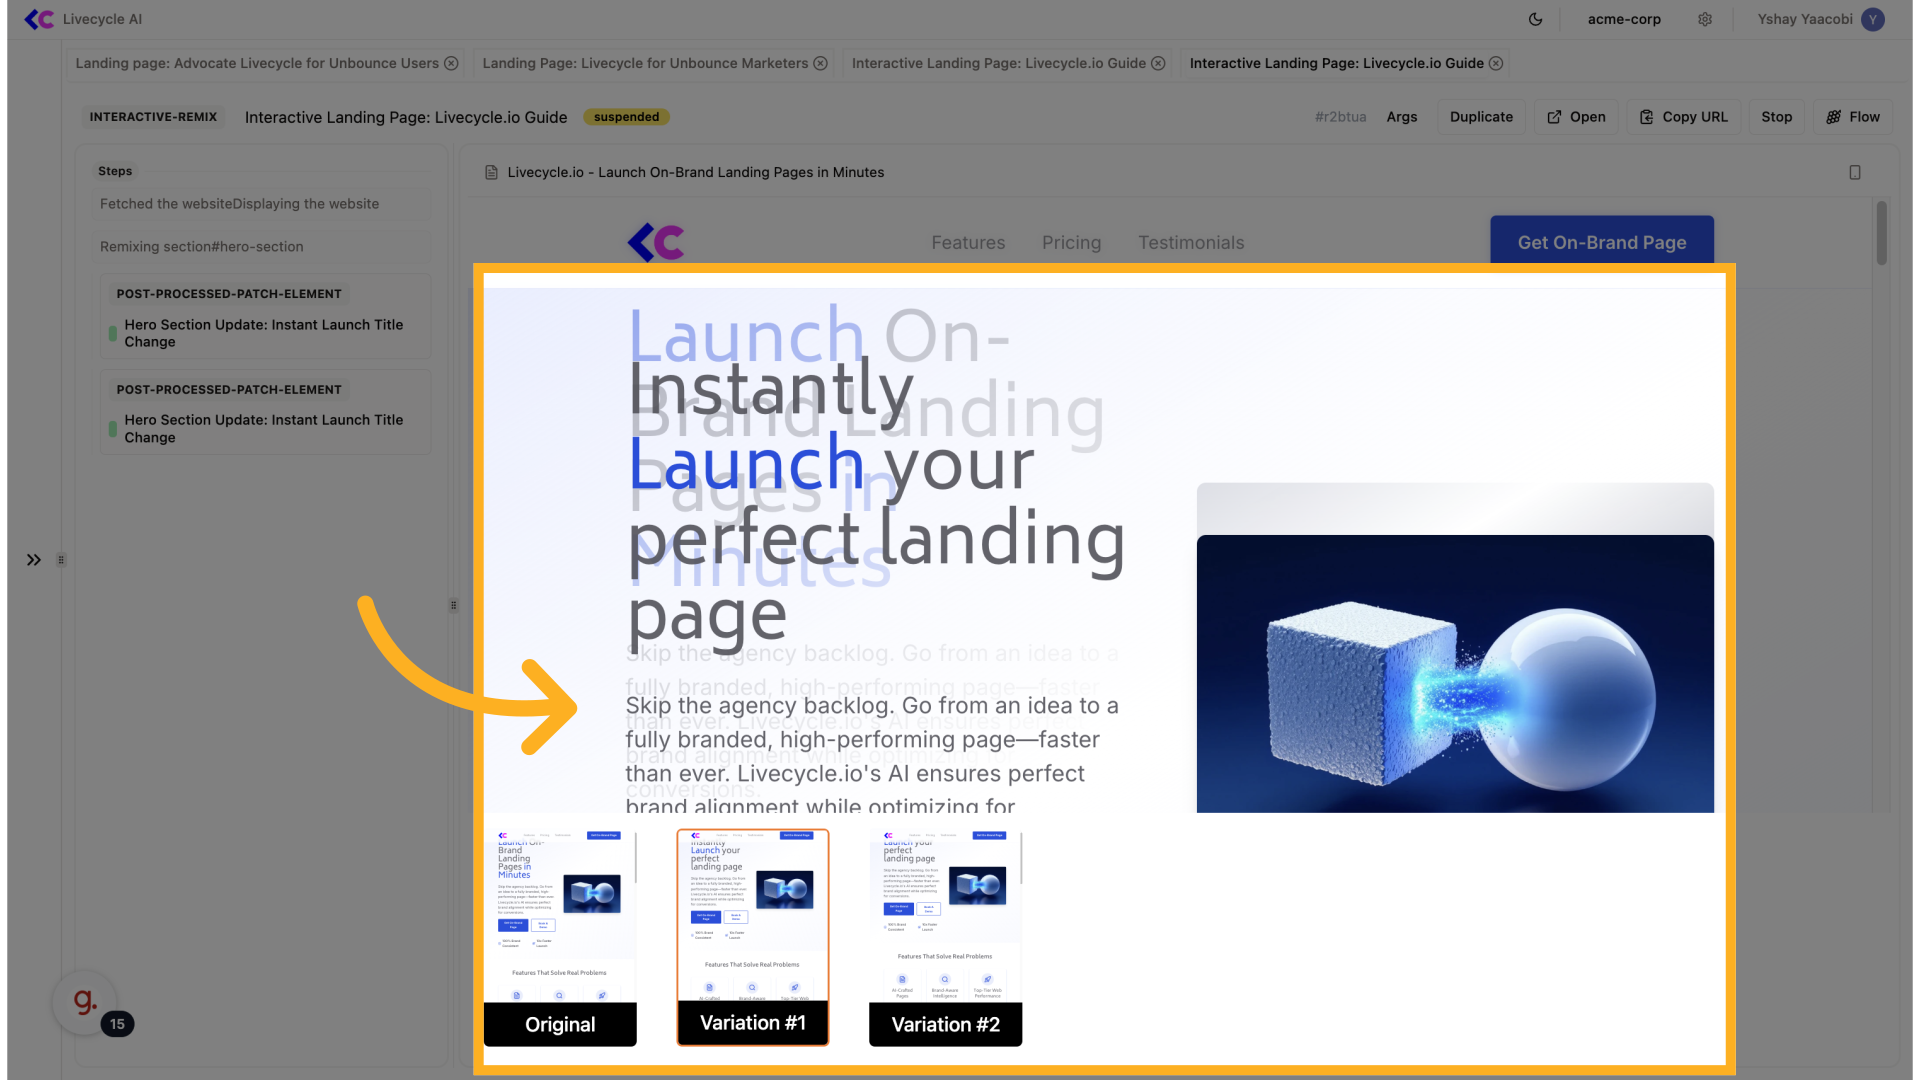
10. Select varaiton
The agent is going to provide you with two options to choose from, choose the one you prefer
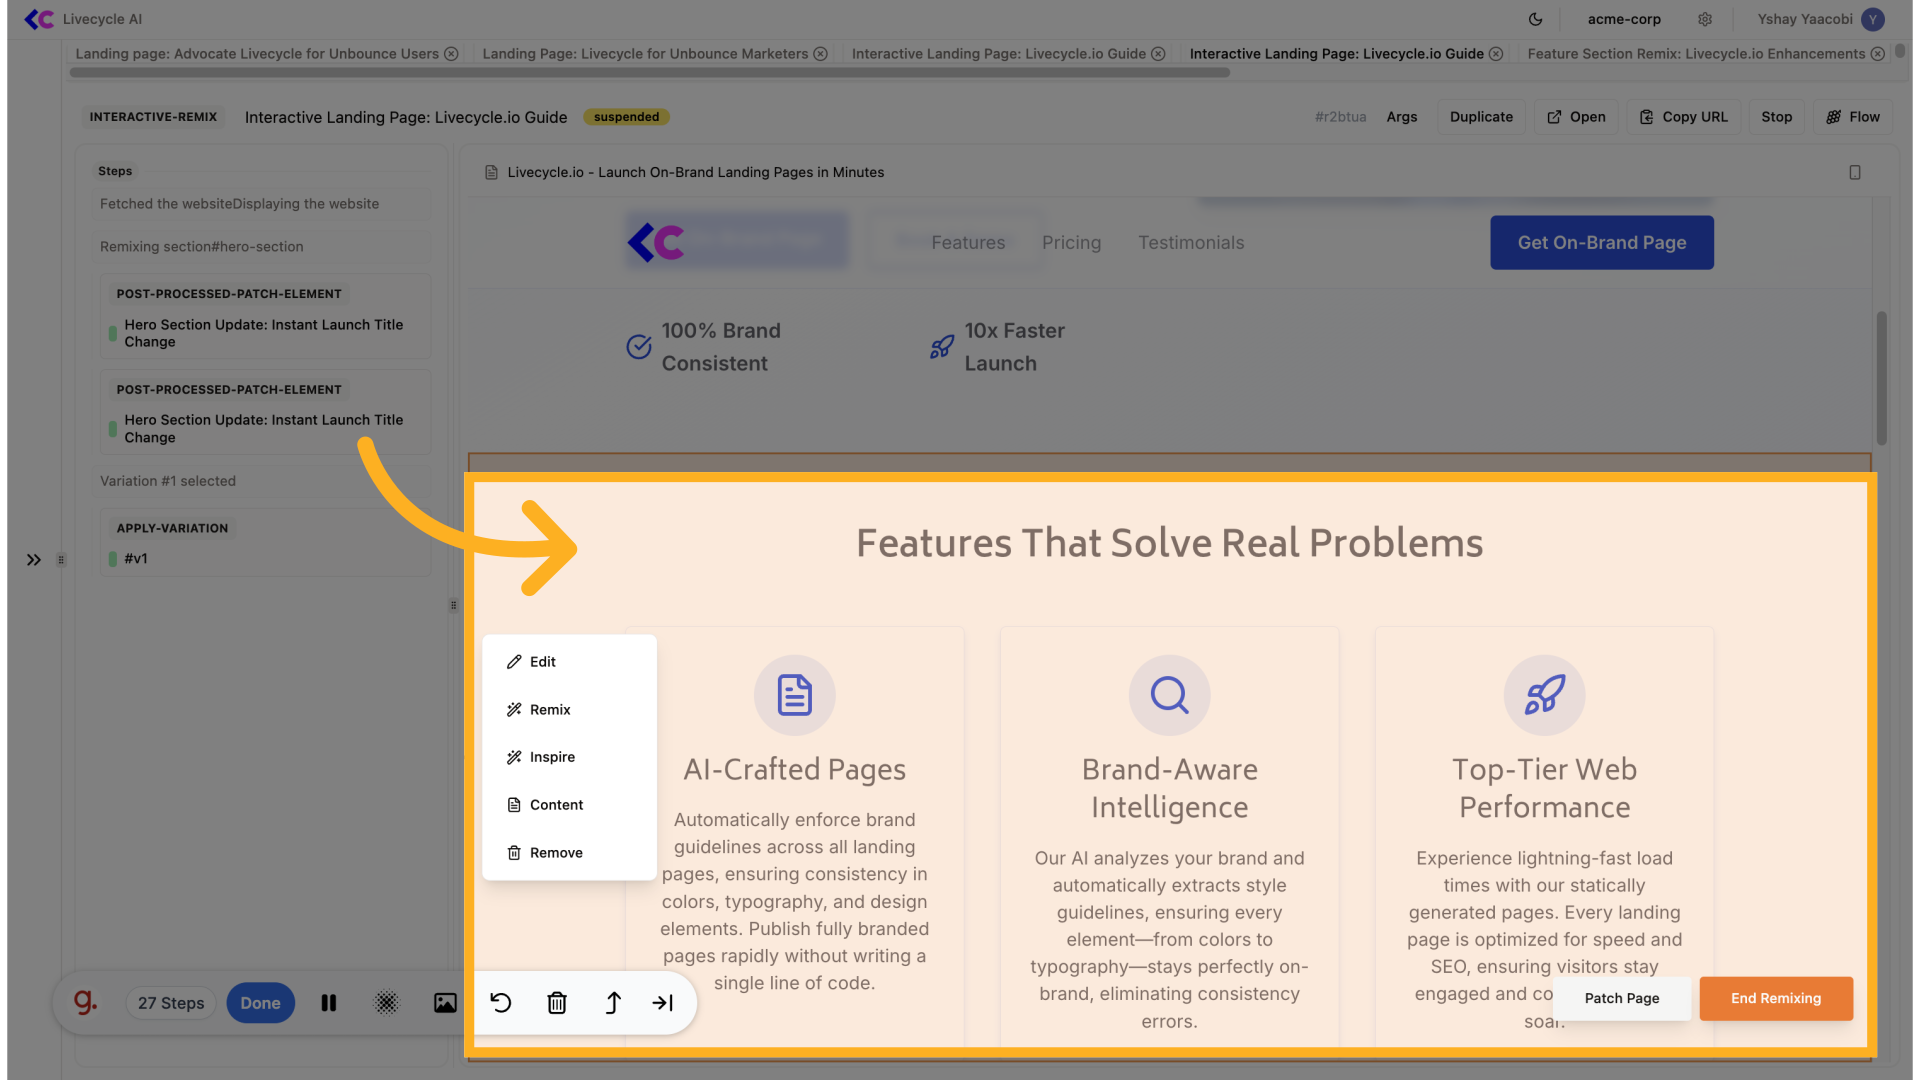
11. Remix another section
Click on "Features That Solve Real Problems"
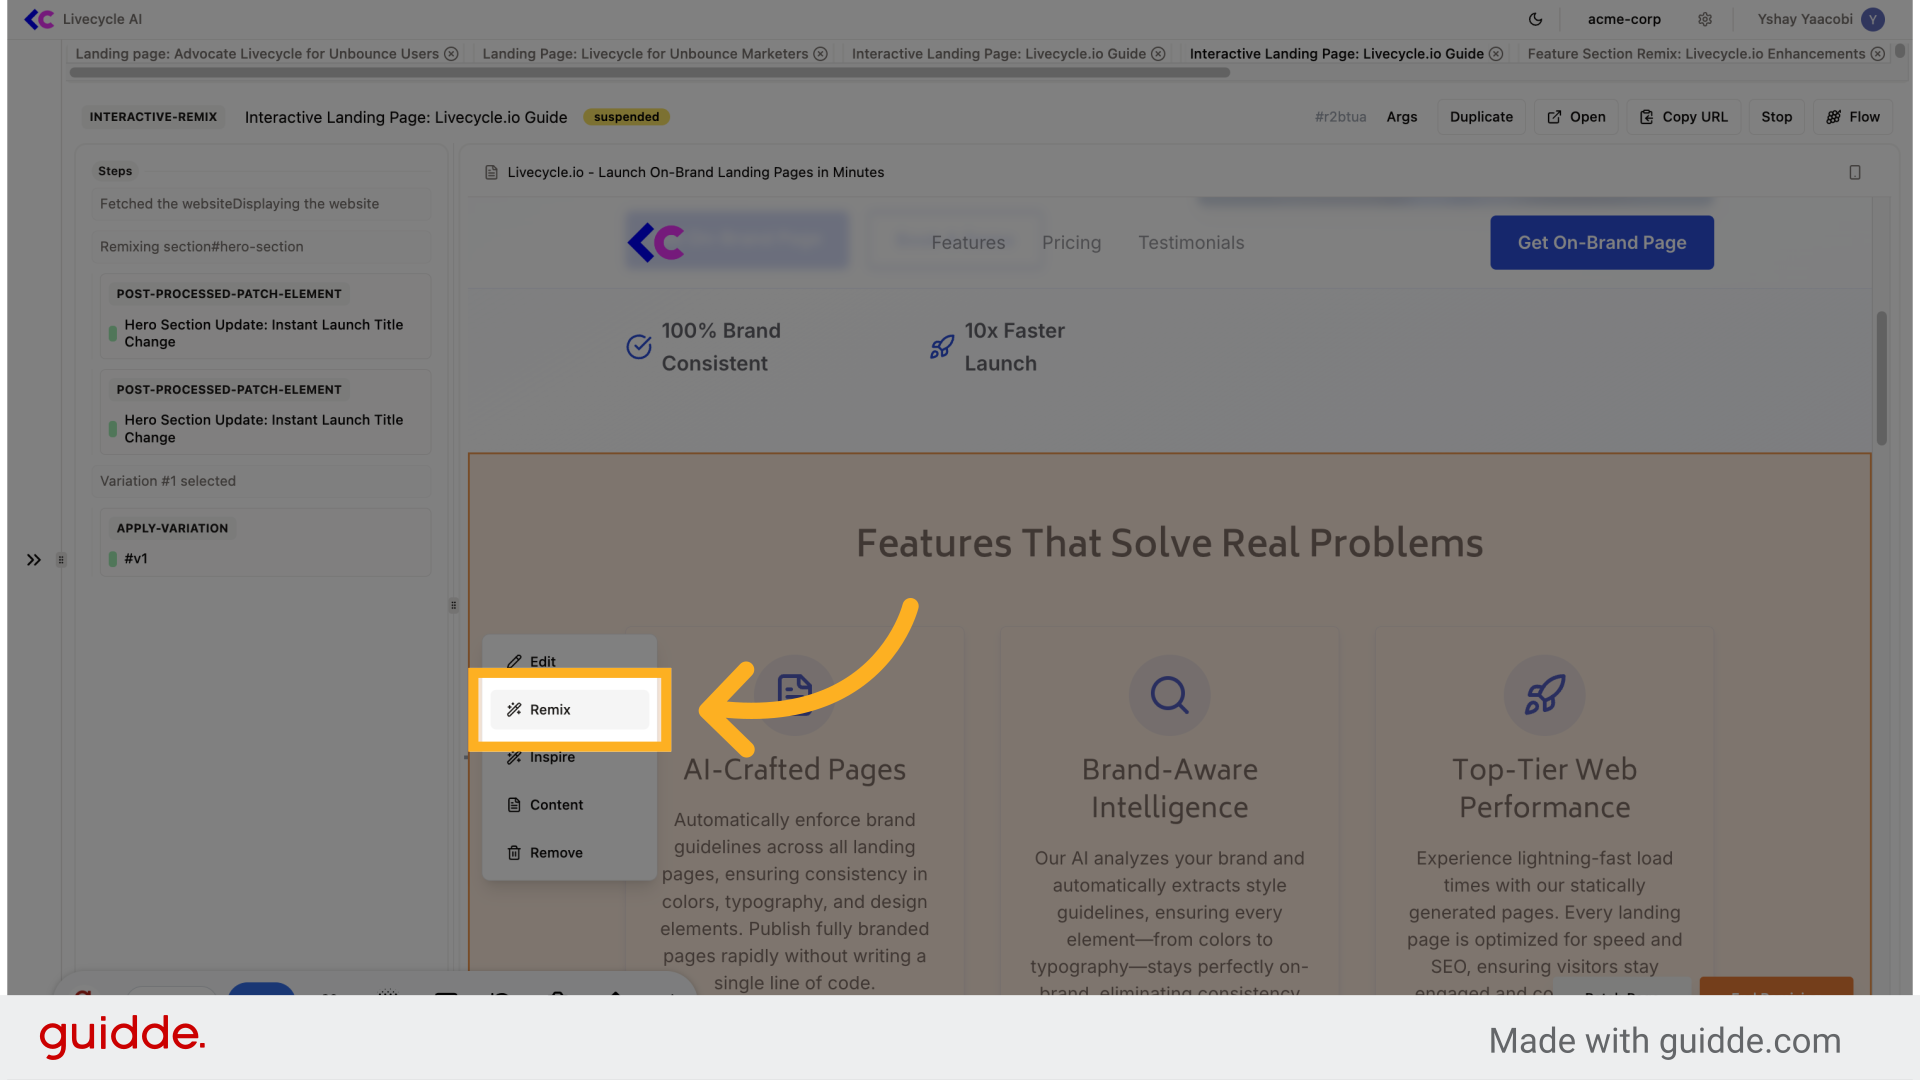
12. Click "Remix"
We'll choose "Remix", this can be used for changing the section layout and visuals completely
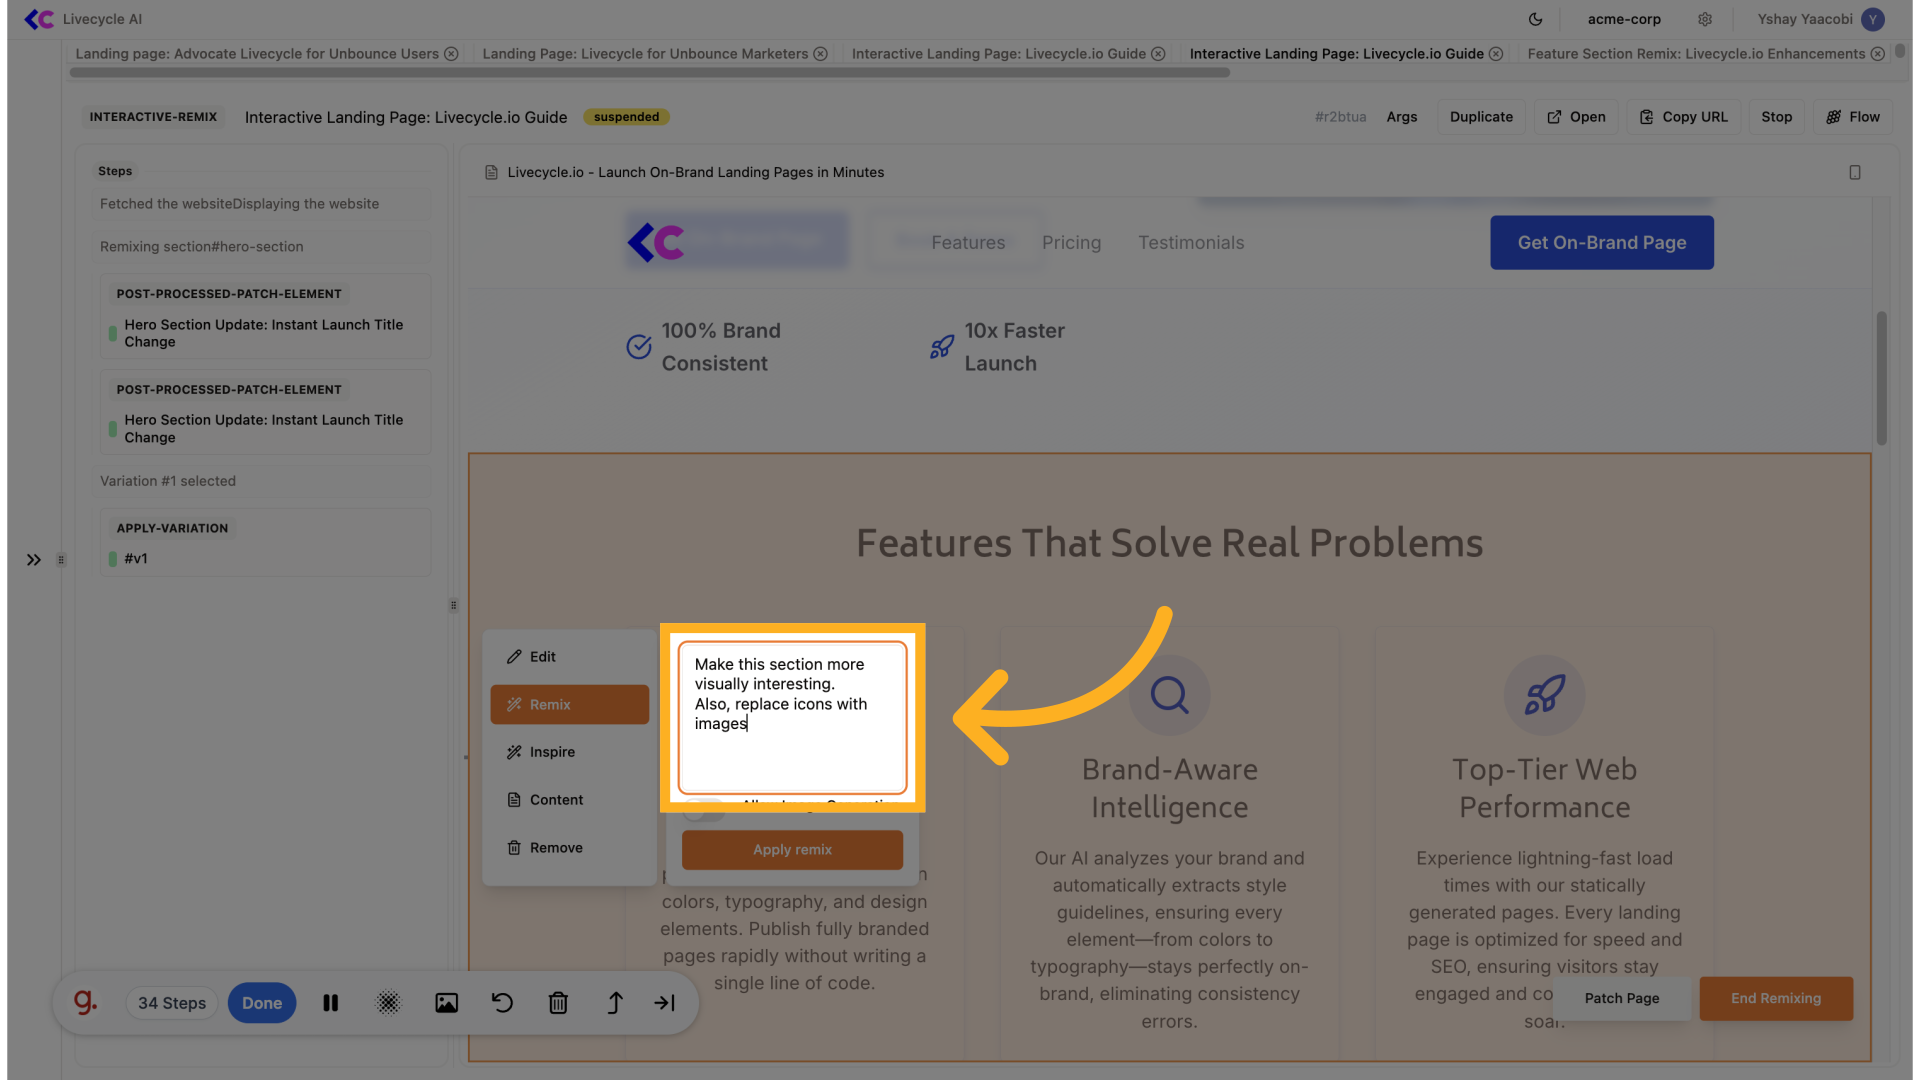
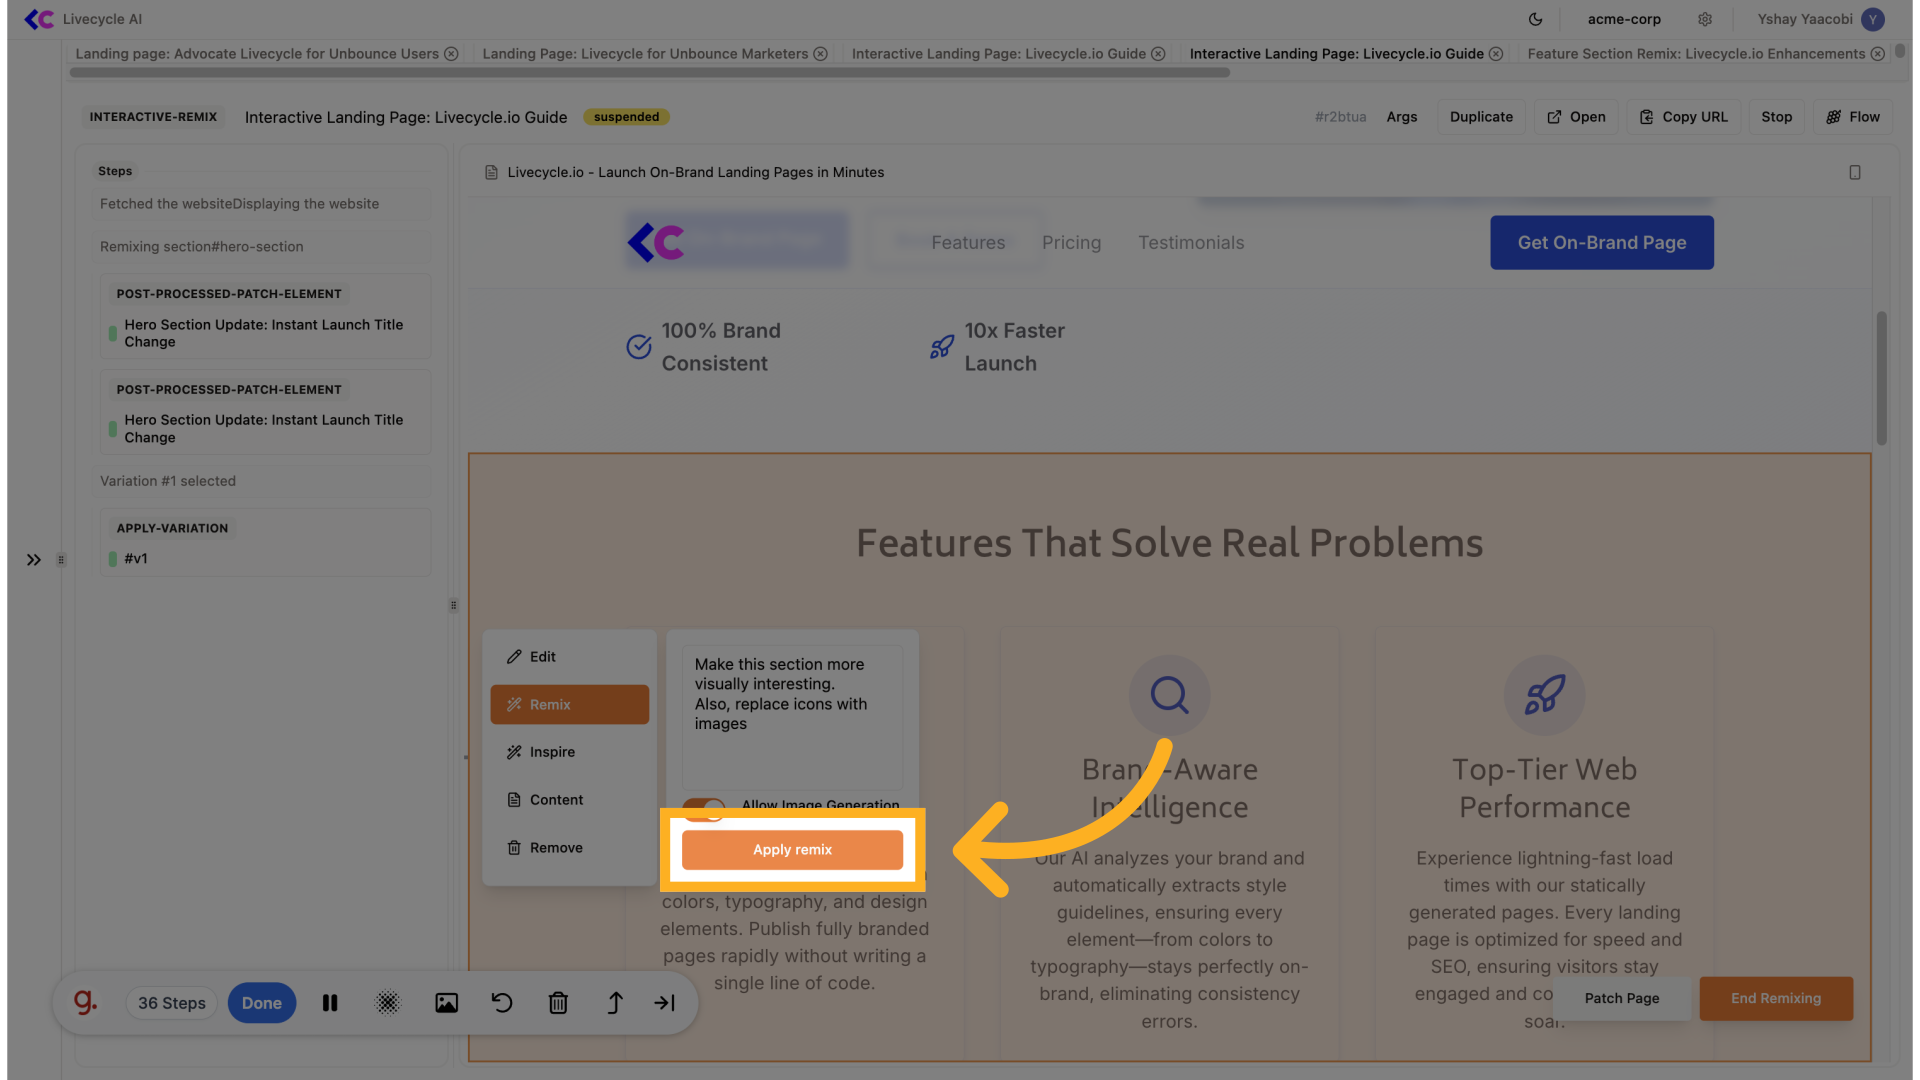
13. Fill your request
Type "Make this section more visually interesting. Also, replace icons with images" in the given field
14. Toggle image generation
Toggle image generation

15. Click "Apply remix"
And we'll start the remix
16. Choose varation
Again, we'll chose our favorite varation
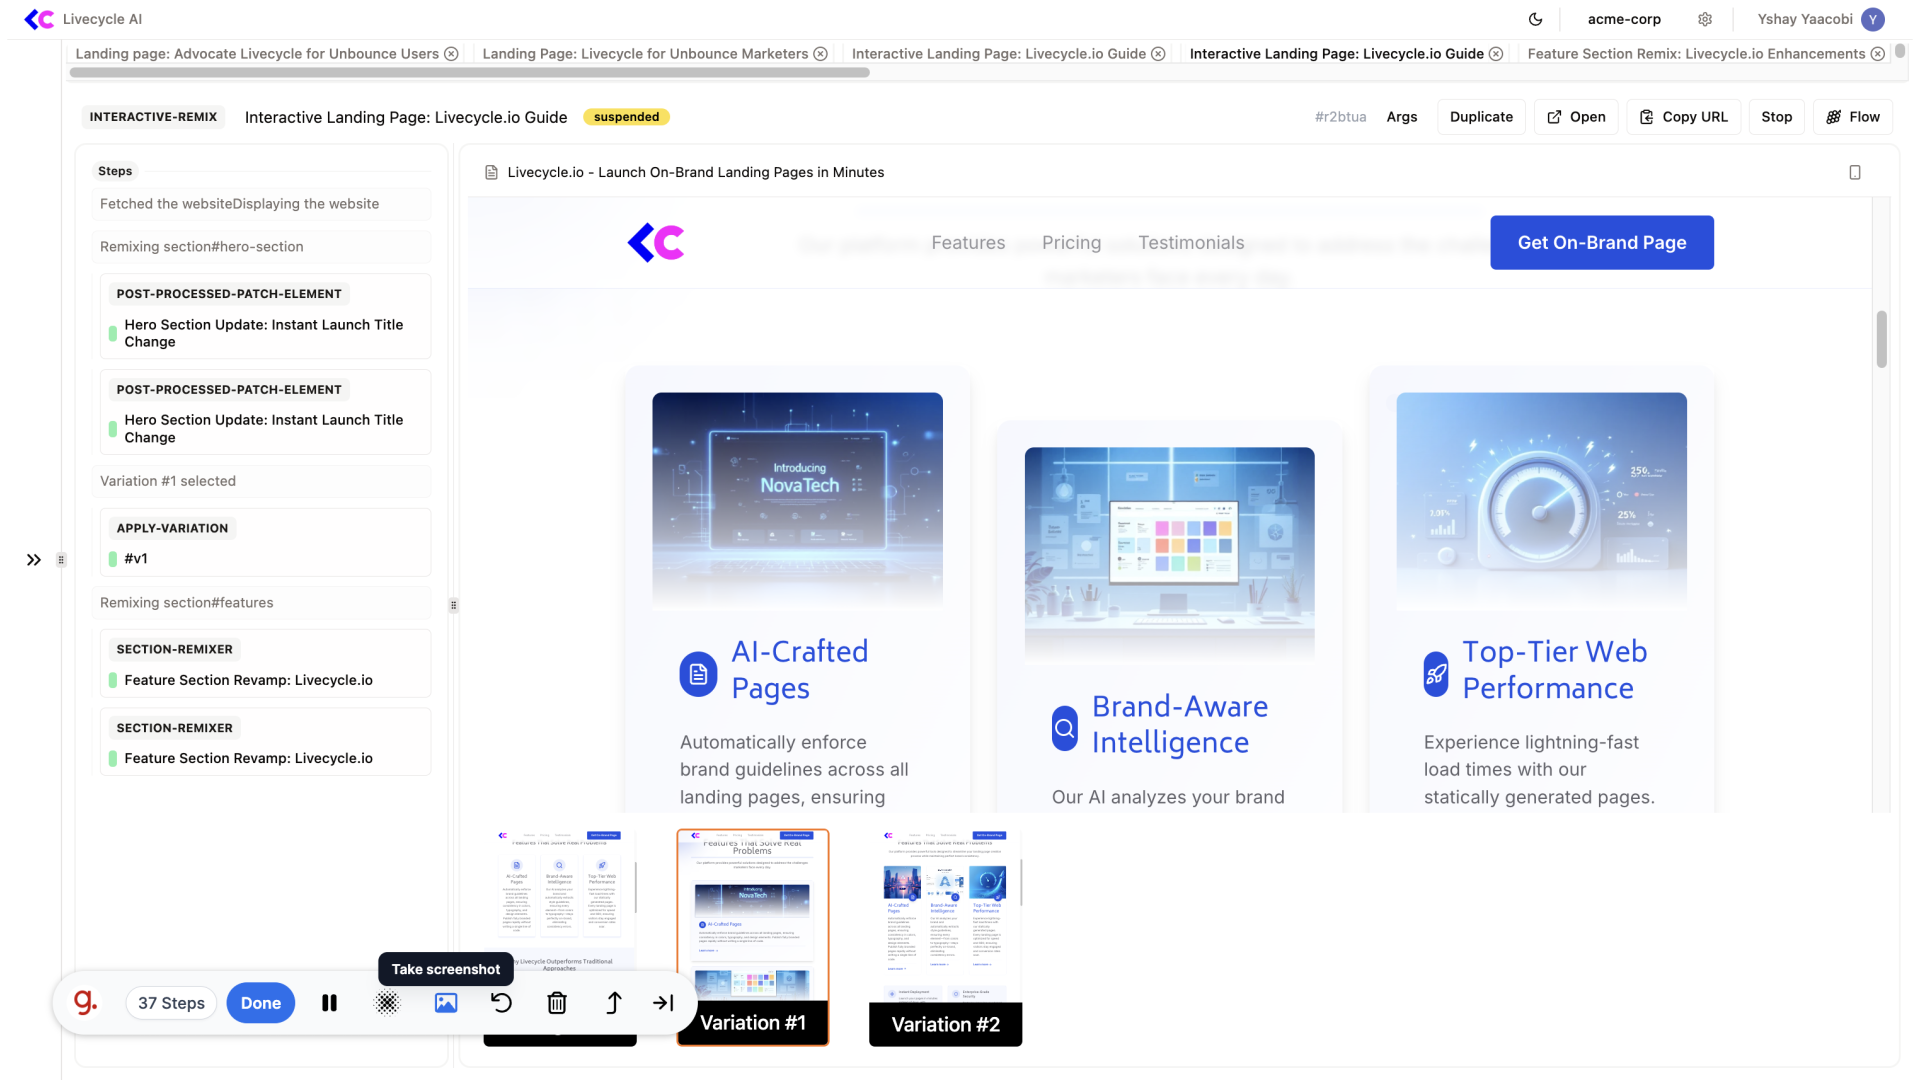
17. Remix
We can see there's much more discrepancy between the variations.
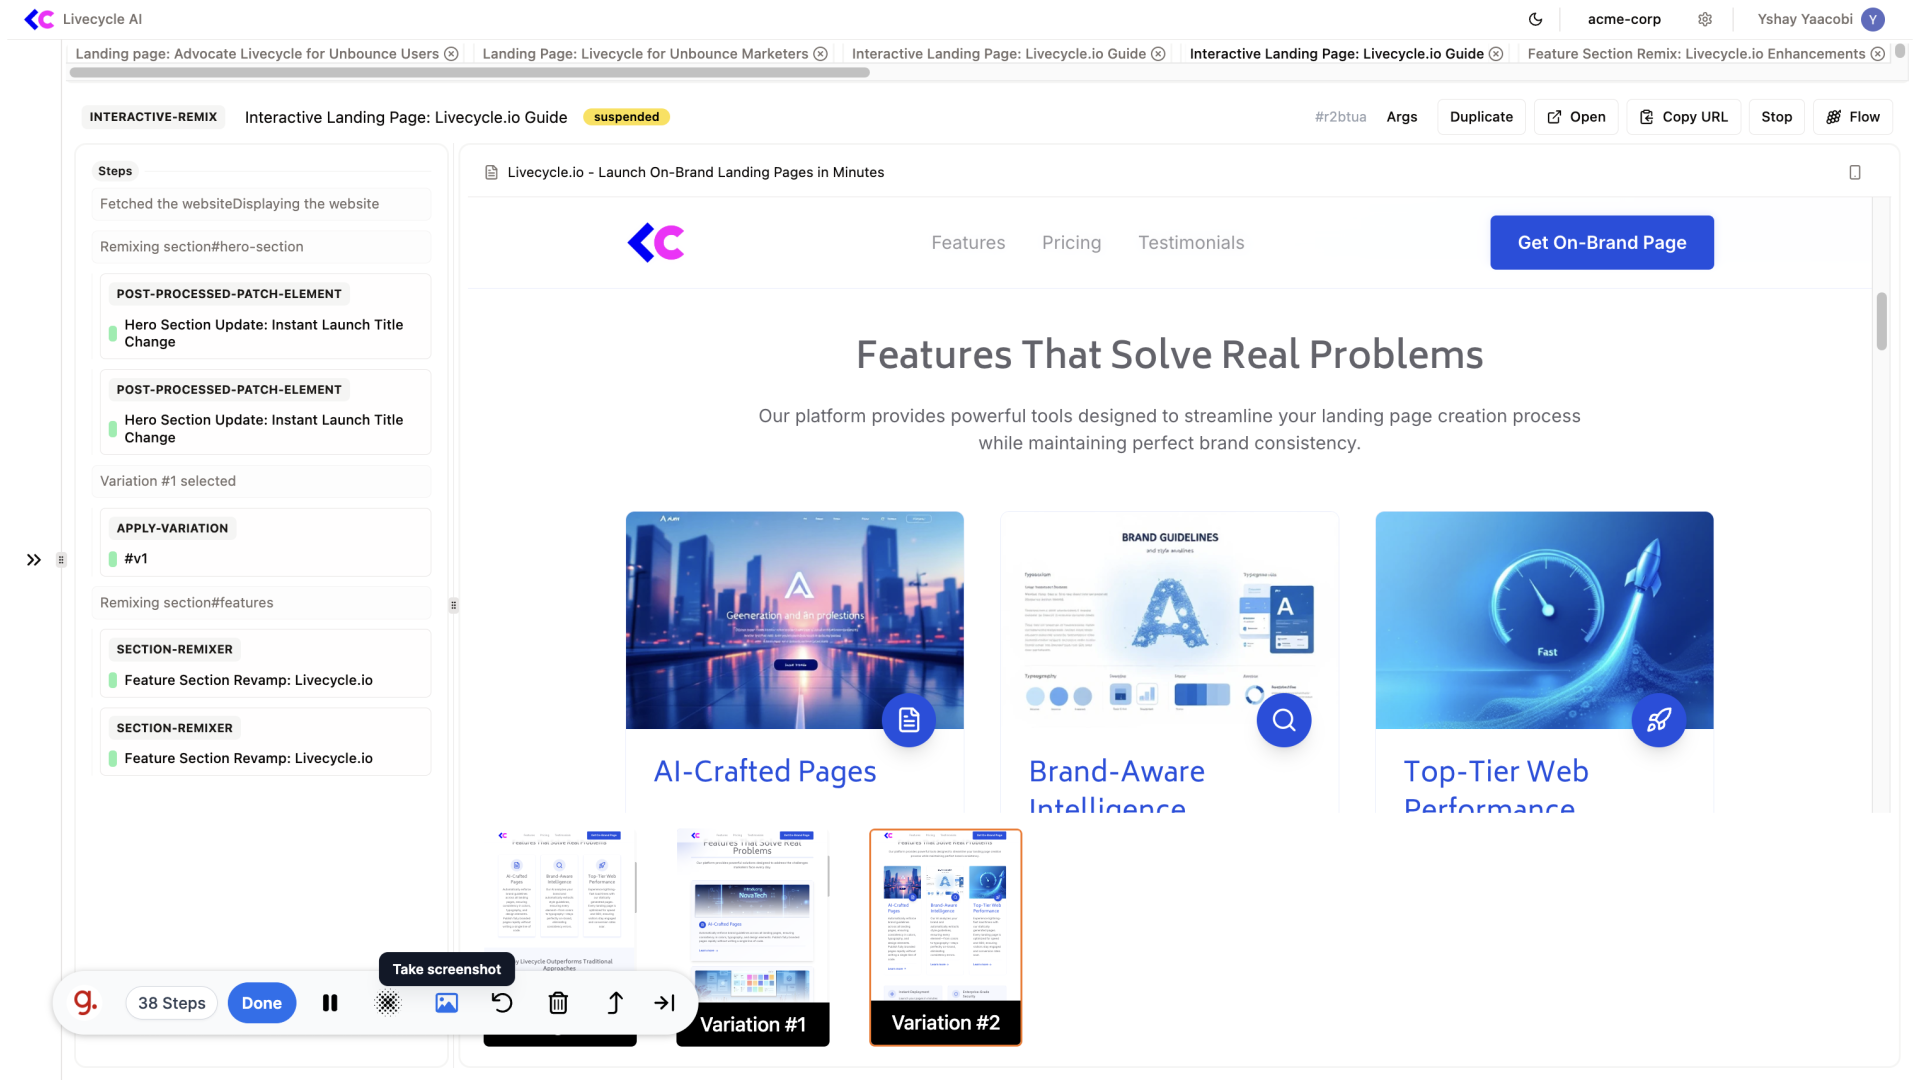
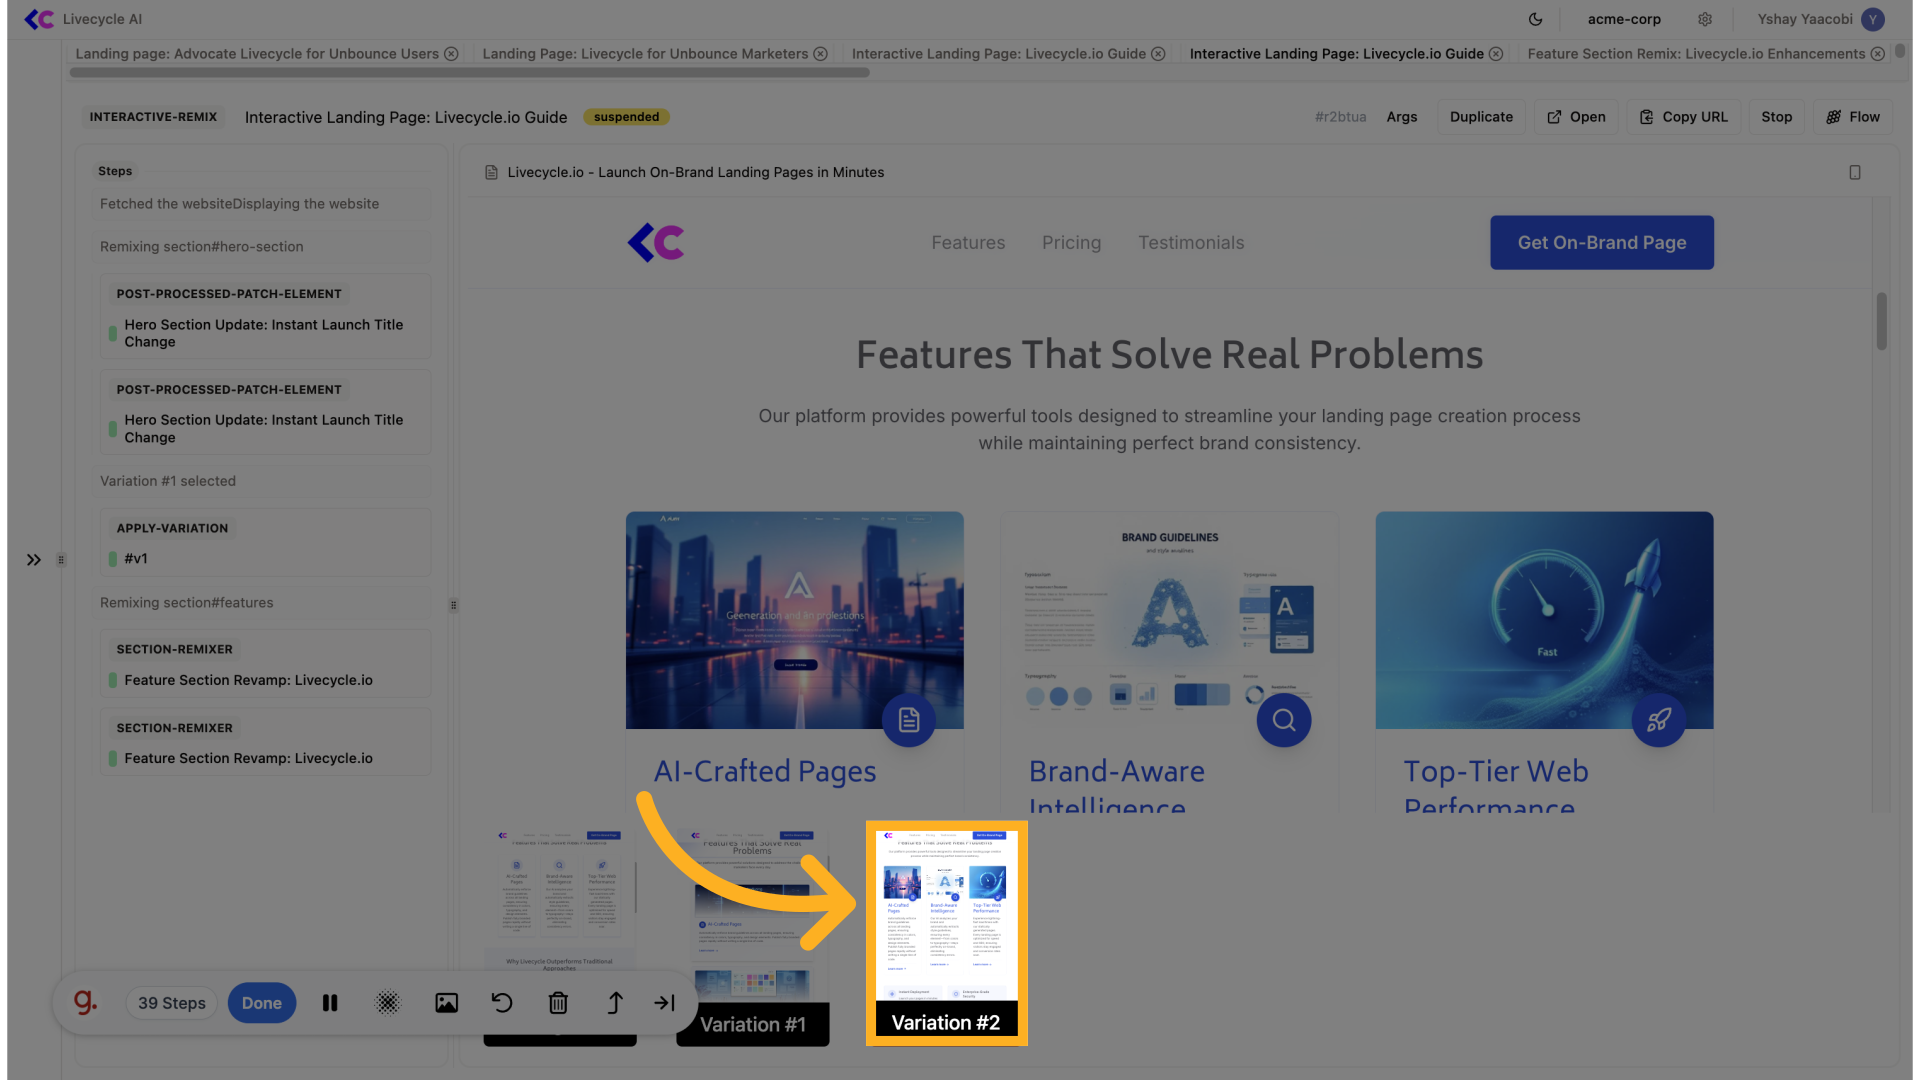
18. Choose Varation
We will choose variation #2
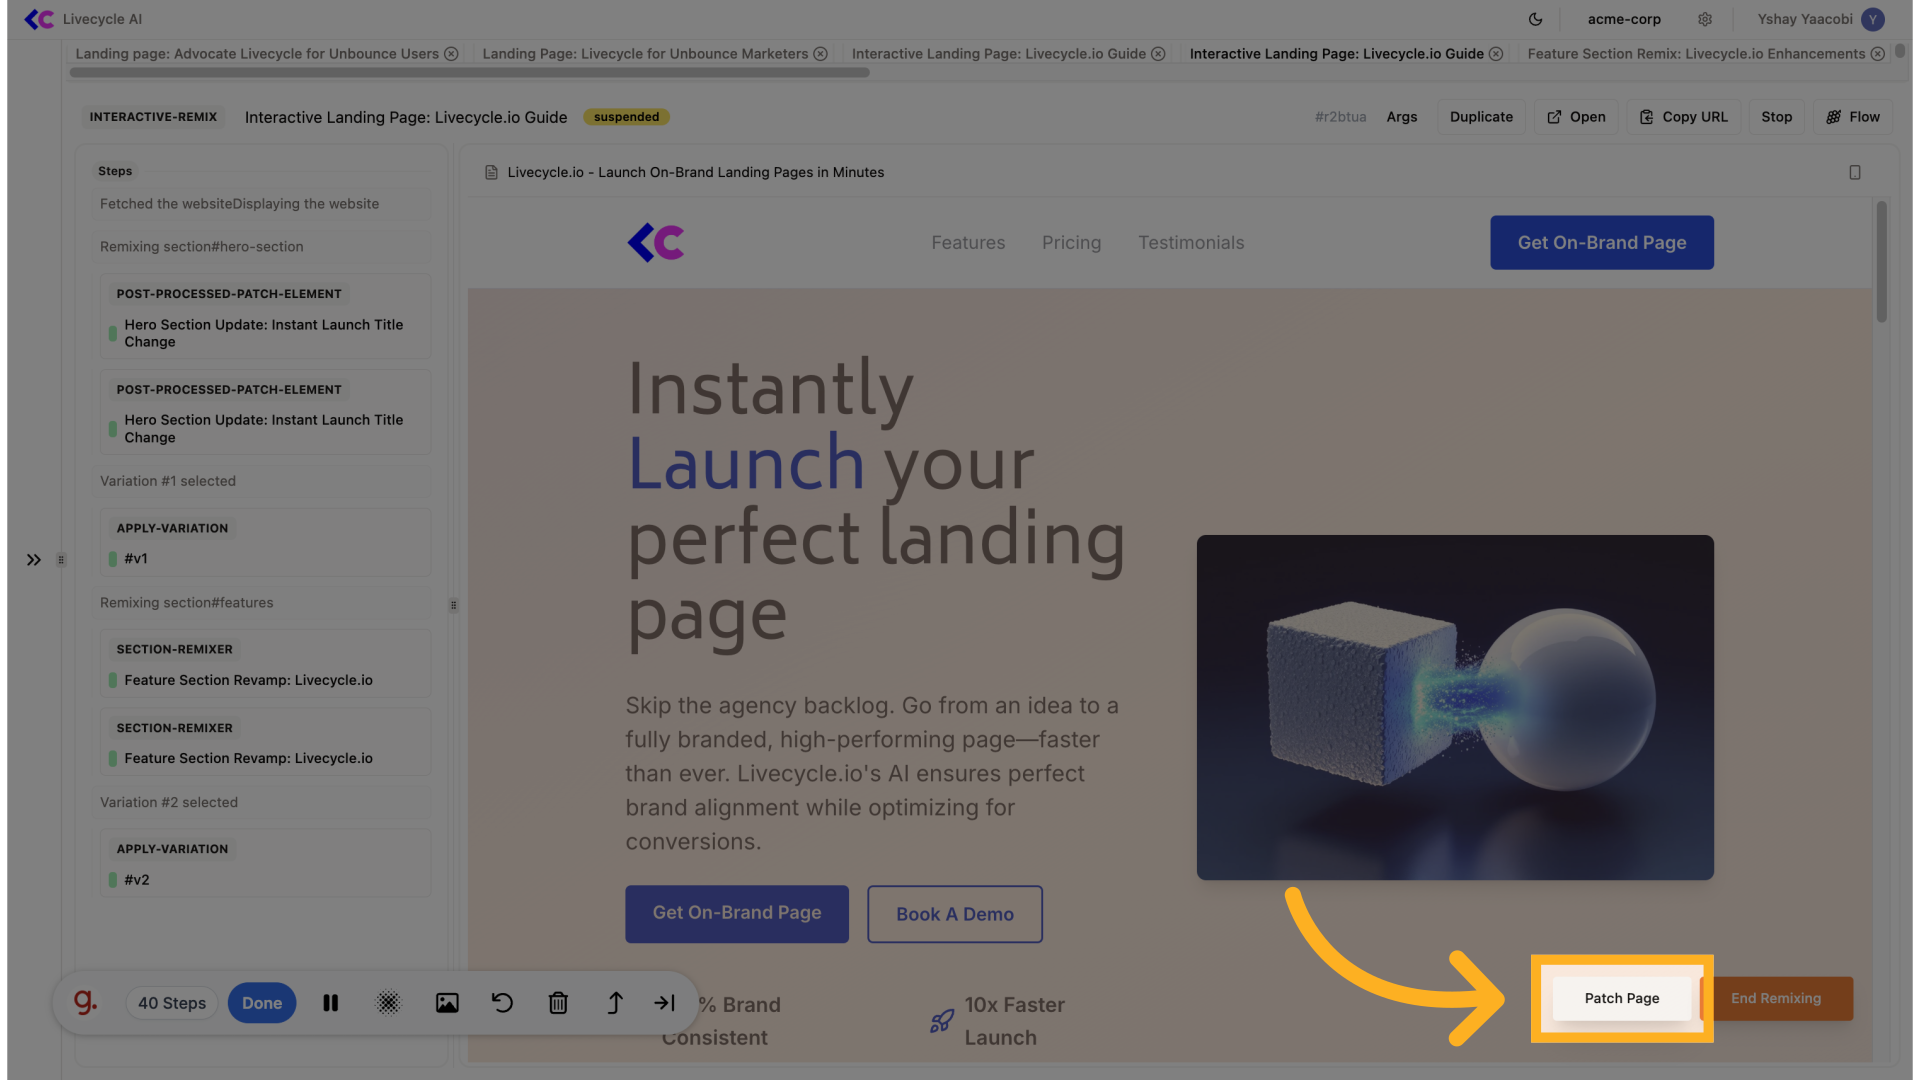
19. Patch Page
Next, we are going to use the patch page action, it can be used for doing page-level changes like adding snippets, changing title, updating favicon, etc...
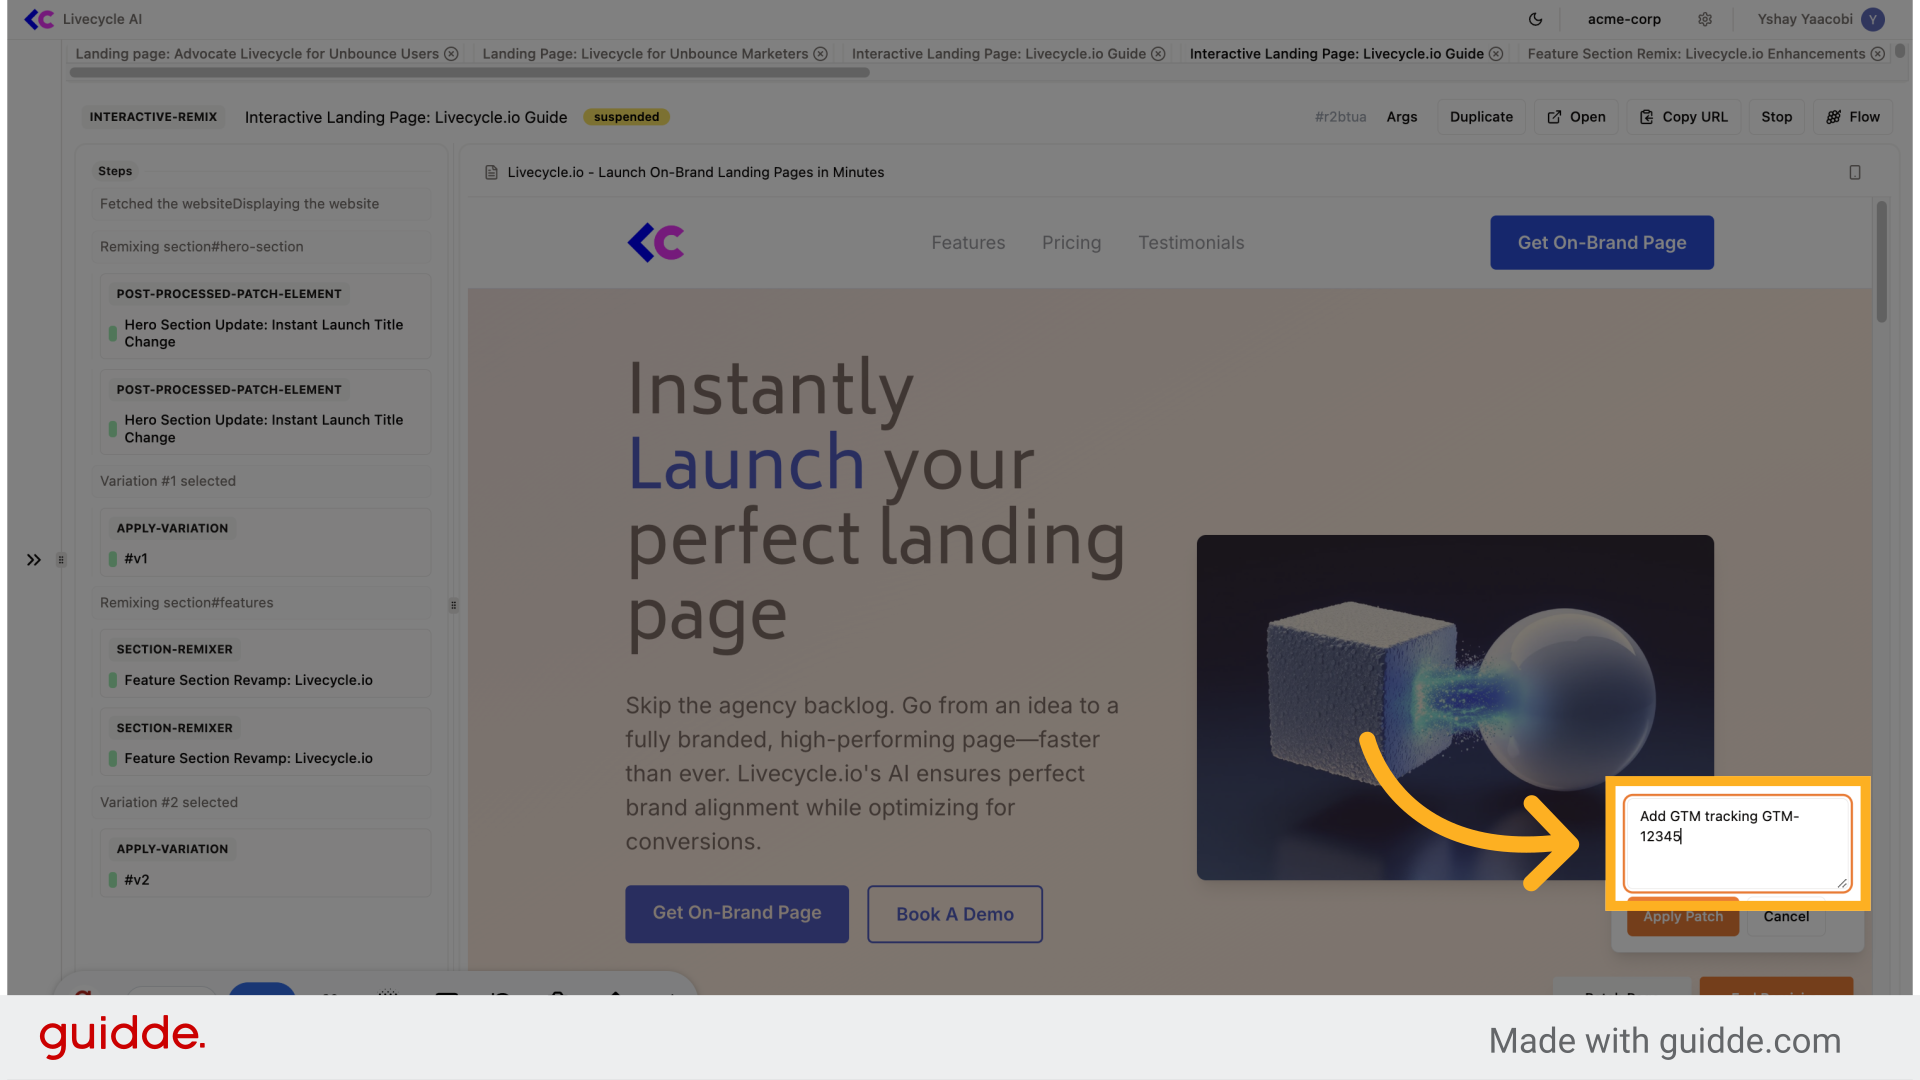
20. Enter your prompt
For example, we'll add GTM tracking code using "Add GTM tracking GTM-12345"
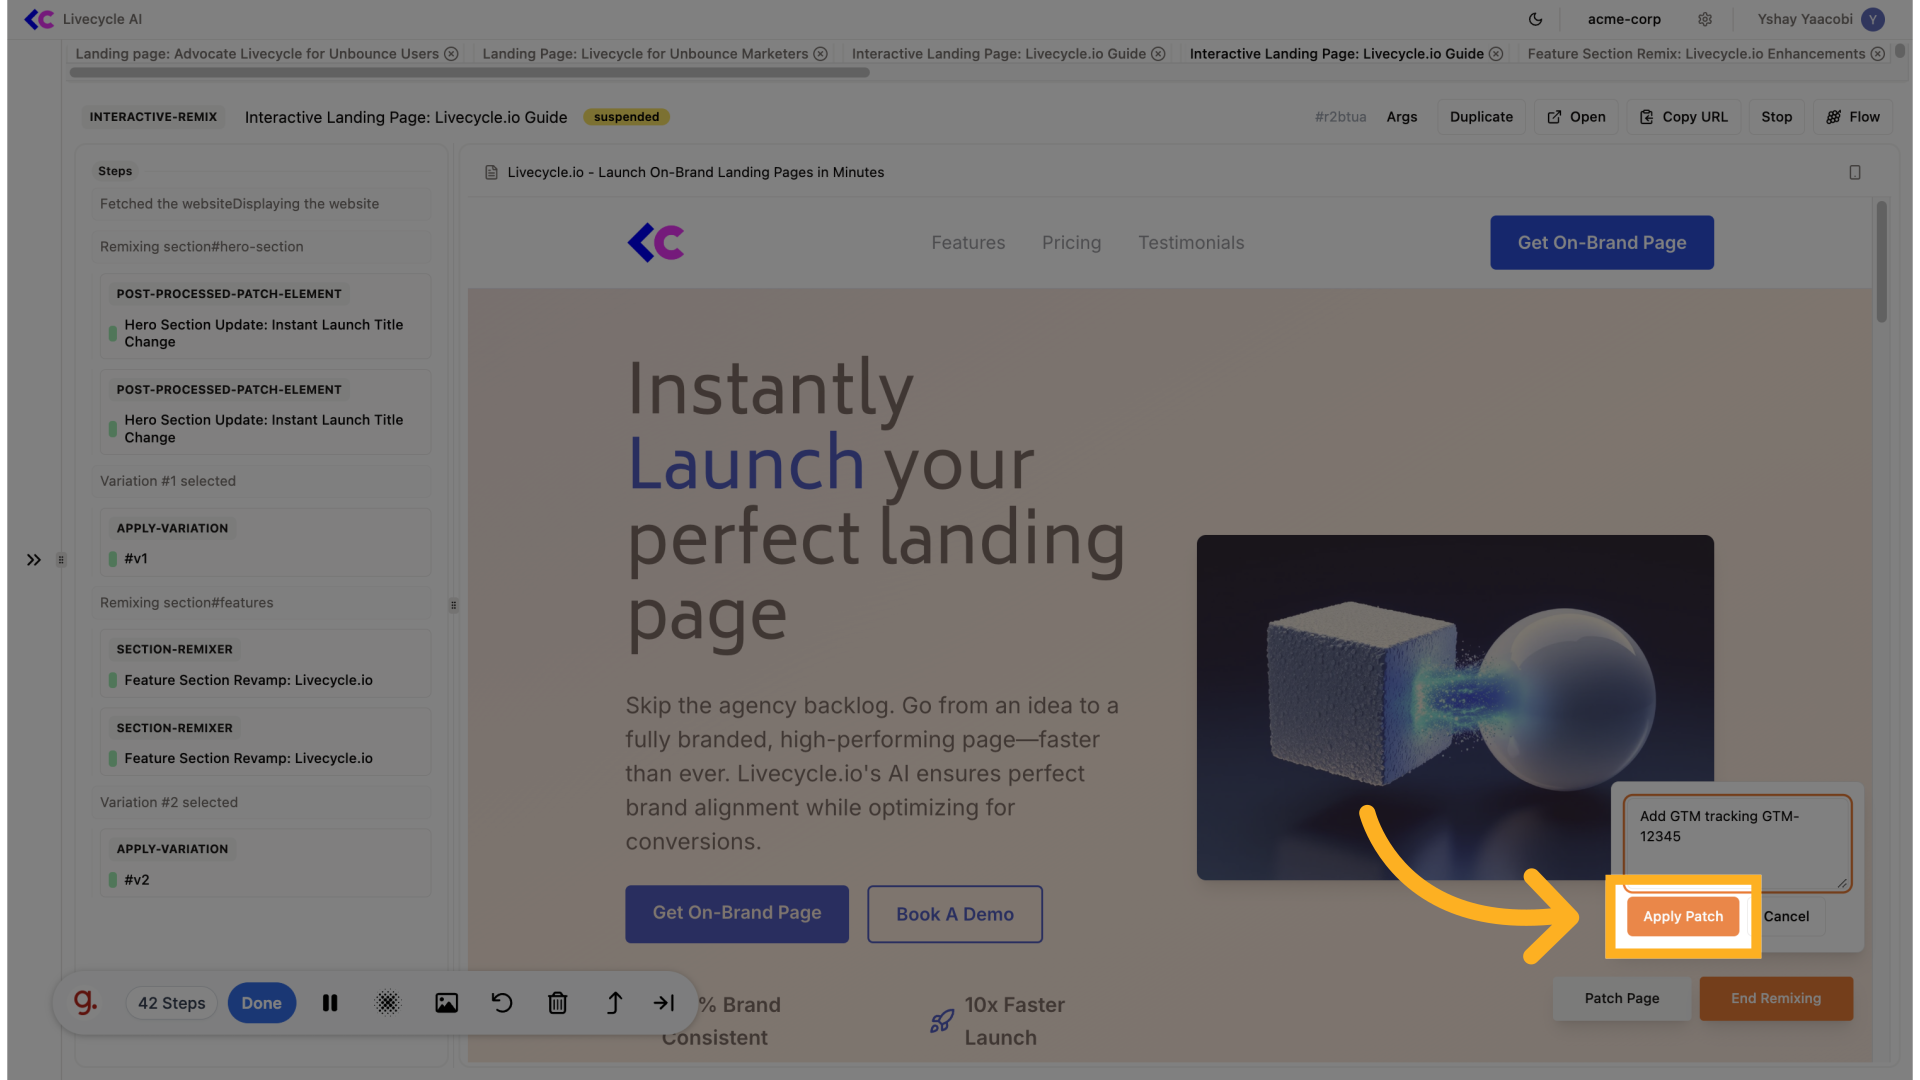
21. Click "Apply Patch"
Click on "Apply Patch"
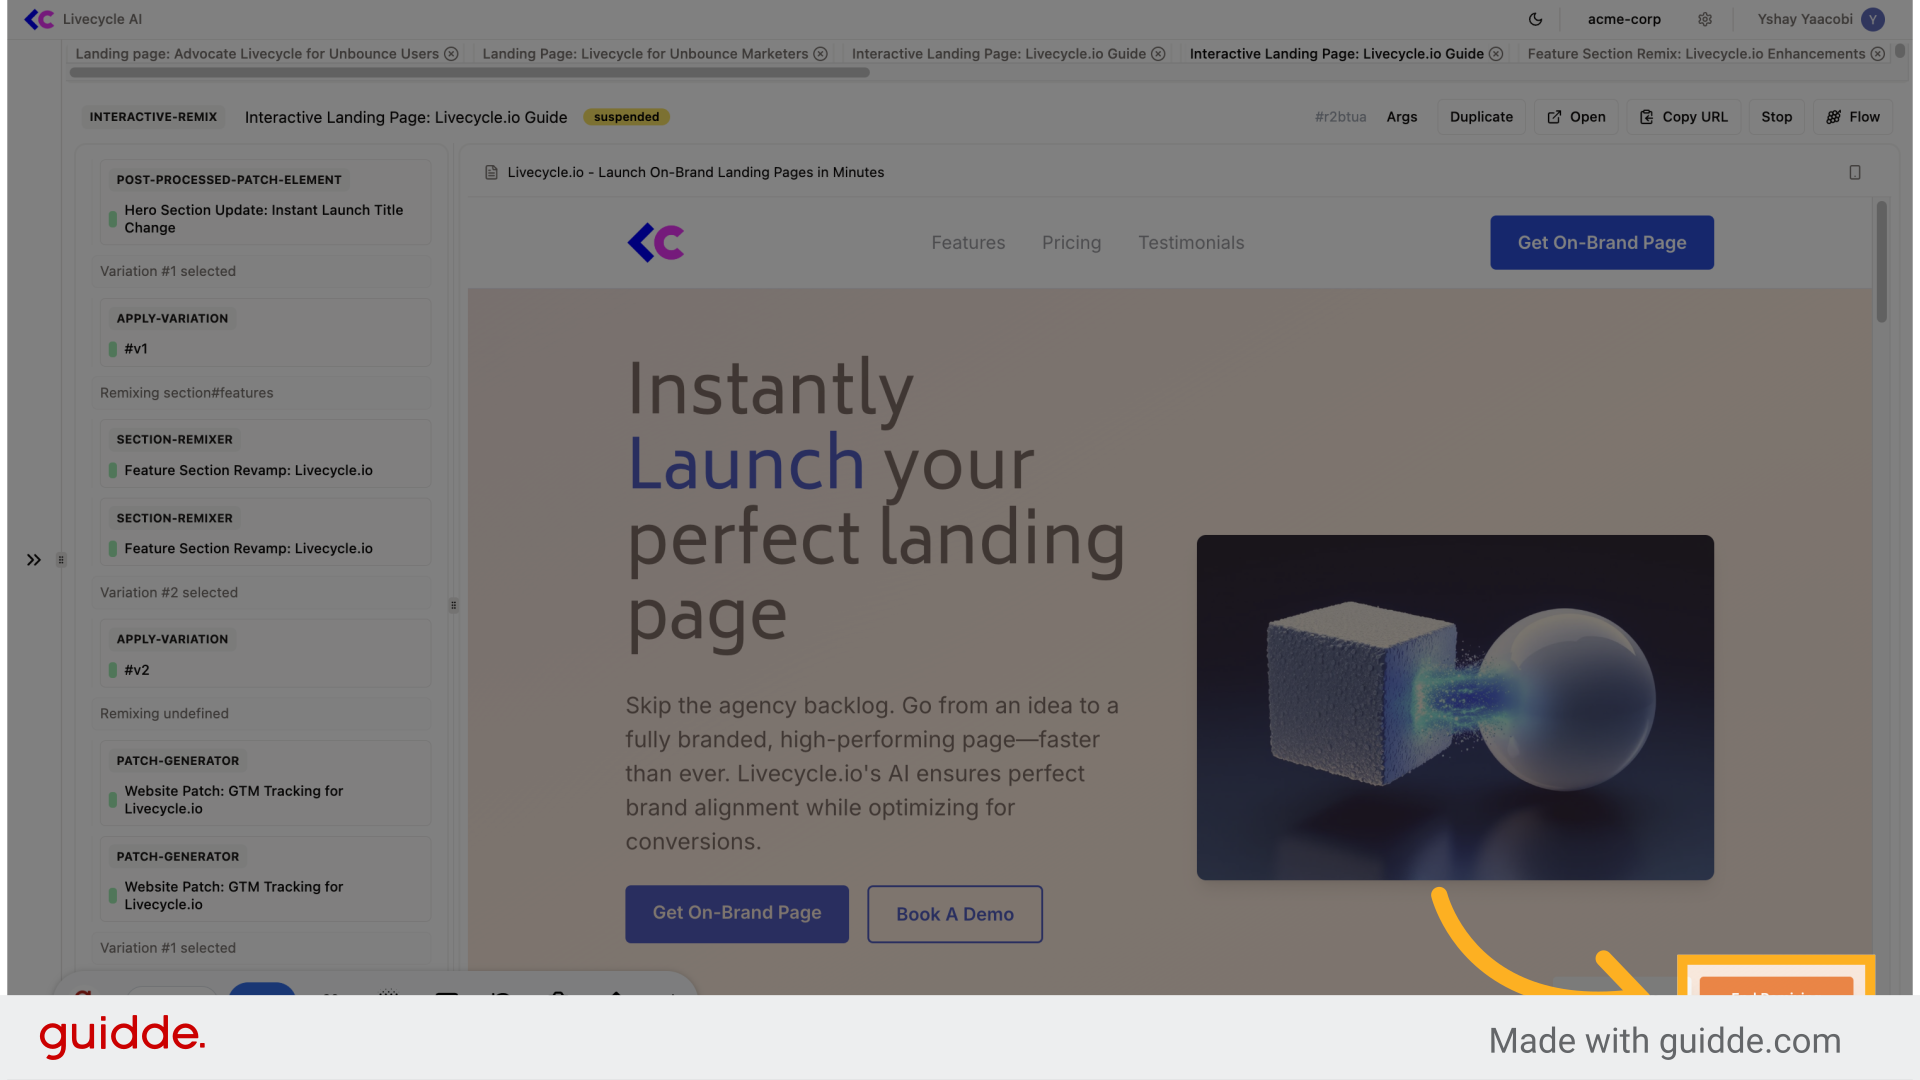
22. Select variation
In the case, the variations are usually the same.

23. Click "End Remixing"
Once we've done iterating on the page, we can click end remixing.
Out new page can be deployed or further remixed
See also: Interactive Remix